
How to clean car exterior trim black plastic comes down to two goals: remove oxidation and grime without drying the plastic out, then add protection so it does not turn chalky again after the next few washes. Most frustration happens when people use a strong all-purpose cleaner, scrub hard, and end up with white haze or uneven dark spots.
If you care about how your car looks, trim matters more than people admit. Clean paint next to faded trim makes the whole vehicle look older, and black plastic around windows, bumpers, and wheel arches tends to show every mistake, especially when product residue dries in the texture.
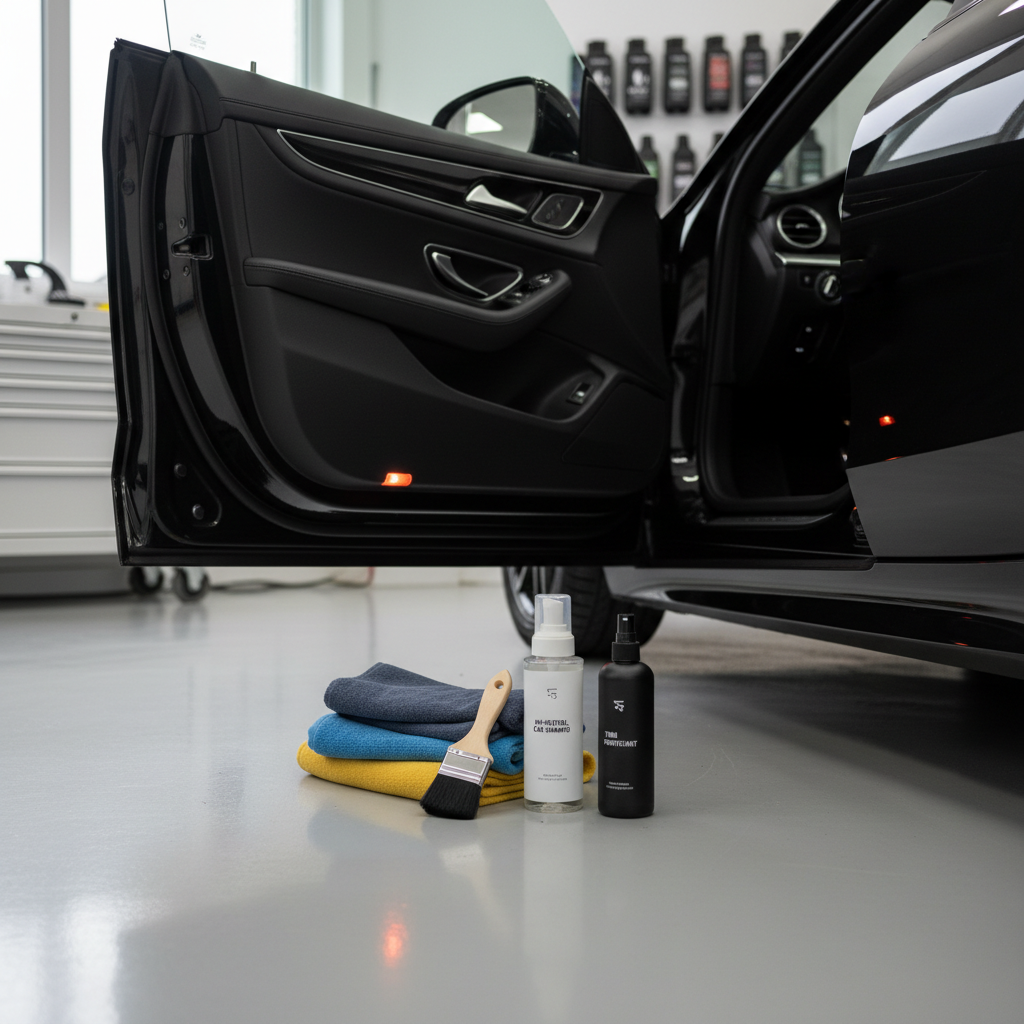
This guide keeps it practical: why black plastic fades, how to tell whether you are dealing with dirt versus oxidation, which tools and chemicals usually behave well, and a repeatable routine that stays safe for nearby paint and glass.
Why black exterior trim turns gray (and why cleaning sometimes makes it worse)
Most black exterior trim is textured polypropylene, ABS, or similar plastics. They are durable, but they do not like UV, harsh chemistry, or repeated drying without protection.
- UV exposure and heat break down the surface, leading to oxidation that looks gray or chalky.
- Road film builds up: oils, traffic grime, salt, and exhaust residue. This can look like fading but cleans off with the right wash.
- Old dressings can cure unevenly, attract dust, or leave streaky silicone residue in texture.
- Overly strong cleaners strip protective oils and can leave a light haze, especially if they dry on the trim.
One more thing: sometimes trim is not truly “faded,” it is stained. Hard-water spotting, wax residue, or compound dust can sit in the pores and make the plastic look patchy.
Quick self-check: dirt, oxidation, or staining?
Before you buy anything, do a simple test on a small section, ideally on a lower door molding or bumper corner.
- Wash test: wash with car shampoo and rinse. If it looks normal while wet and stays mostly dark after drying, you mainly had grime.
- IPA wipe test: lightly wipe a small area with diluted isopropyl alcohol (IPA) on a microfiber. If color improves temporarily, residue or oils were masking unevenness.
- White towel test: rub a clean microfiber on the trim. If you see gray/chalky transfer, oxidation is likely present.
- Texture test: if the plastic looks “embedded” white in the grain and does not change much when wet, you may be dealing with deeper oxidation or staining.
If you are unsure, start gentle. Aggressive scrubbing and strong degreasers solve the wrong problem fast, and create a new one even faster.
Tools and products that usually work well (and what to avoid)
You do not need a wall of detailing bottles, but you do need the right categories of products. According to U.S. Environmental Protection Agency (EPA) guidance on safer chemical use, reading labels and following dilution and ventilation directions helps reduce unnecessary exposure to harsh chemicals, which matters when you are working close to your face and hands.
Recommended basics
- pH-neutral car shampoo for regular washing
- Soft detailing brush (boar-hair or flagged-tip) to reach texture
- Microfiber towels dedicated to trim (so wax residue does not spread)
- All-purpose cleaner (APC) that can be diluted, used carefully for heavy grime
- Trim protectant (water-based dressing, ceramic trim coating, or trim sealant)
Common “avoid” list
- Household degreasers and strong alkaline cleaners used full strength, they often dry plastic out
- Solvent-heavy tire shine on trim, it may sling and stain paint, and can look greasy
- Magic erasers for routine cleaning, they are abrasive and can polish texture unevenly
- Heat-gun shortcuts if you are not experienced, it can warp trim or accelerate future fading
Step-by-step: the safe way to clean black plastic trim
This is the routine most people can repeat without drama. Work in shade on a cool surface, because dried product is where streaks and spotting begin.
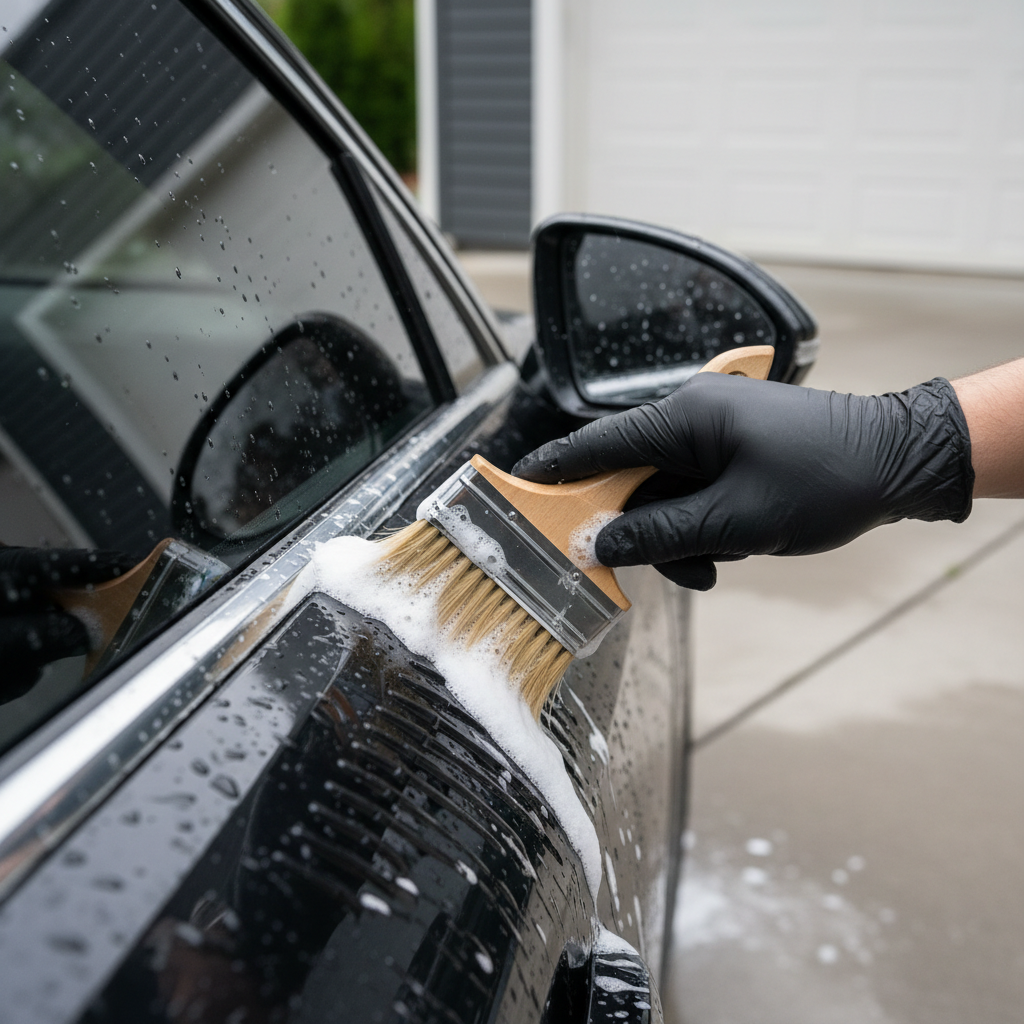
1) Pre-rinse and shampoo wash
- Rinse the trim thoroughly to remove grit that can scratch.
- Wash using car shampoo, a microfiber mitt, and a dedicated soft brush for the textured areas.
- Rinse again and do not let soap dry on the trim.
2) Spot-clean heavy grime carefully
If the trim still looks brownish or oily near the lower panels, use a diluted APC. Spray onto the brush or towel, not directly at the trim if it is next to delicate paint edges.
- Agitate gently, short strokes, do not “sand” the plastic.
- Rinse thoroughly.
- Dry with a microfiber towel, pressing into the texture instead of dragging hard.
3) Remove embedded residue (only if needed)
If you see white wax lines or polish dust trapped in the grain, a dedicated trim cleaner or a mild solvent wipe may help. Test first, and avoid flooding the area near fresh paint or re-sprayed panels.
- Use a small detailing brush to lift residue from the pores.
- Wipe immediately with a clean microfiber.
- Repeat in small sections so product does not dry.
4) Final wipe and inspection
Look from different angles. Black trim loves to hide streaks until the sun hits it. If it looks good now, you are ready to protect it. If it still looks gray even when perfectly clean, oxidation is likely the main issue, and protection alone may not fully restore color.
Restore and protect: what to use in different real-world scenarios
Cleaning alone rarely keeps trim dark for long. Protection is the difference between “looks nice today” and “still looks decent a month later.” Here is a realistic chooser, not a one-size-fits-all answer.
| Situation | What usually works | What to expect |
|---|---|---|
| Trim is dirty but still black | Water-based trim dressing or sealant | Easy application, weeks of improved look depending on weather and washing |
| Trim looks slightly gray, mild oxidation | Trim restorer + protectant, or a trim-specific ceramic coating | More uniform color, longer durability if prep is thorough |
| Heavy chalky oxidation | Dedicated restorer, sometimes light abrasion or professional correction | Improvement varies, may not return to “new” without deeper work |
| You want low maintenance | Trim coating (ceramic/SiO2) designed for plastics | Longer protection, higher prep demands, more careful application |
Applying a trim dressing (quick, forgiving)
- Make sure trim is fully dry.
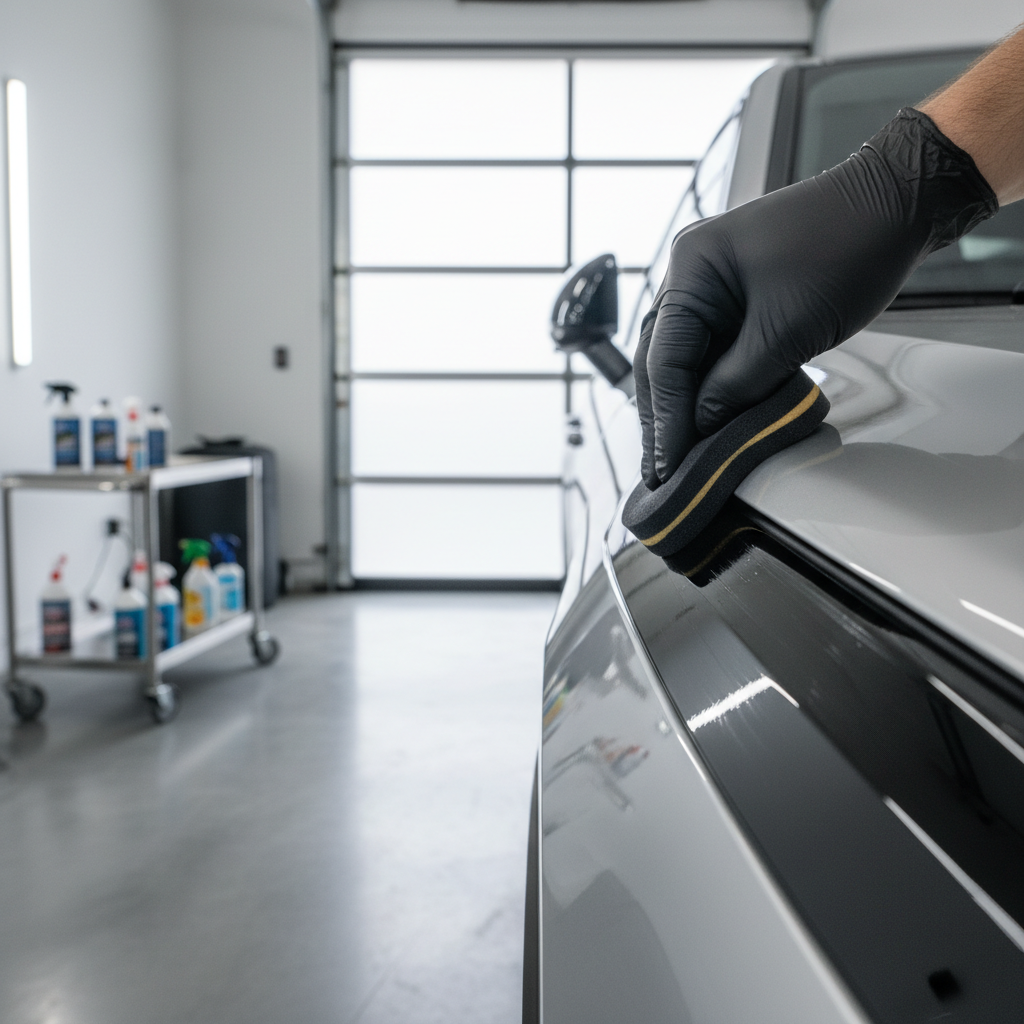
- Apply to an applicator pad, then work it into the texture.
- Buff off excess to avoid sling and shiny patches.
Key point: more product rarely means better results. Over-application is the usual reason for streaks after the first rain.
Applying a trim coating (longer-lasting, less forgiving)
- Degrease lightly so oils do not block bonding.
- Mask paint edges if you are not confident, coatings can leave high spots.
- Apply in small sections and level per product instructions.
If you enjoy detailing and keep the car a long time, coatings can be worth it. If you just want it to look decent with minimal stress, a quality dressing reapplied occasionally is often the calmer choice.
Mistakes that cause streaks, white haze, or fast re-fading
- Letting cleaners dry on the surface, especially in sun or wind
- Using one towel for everything, wax and polish residue transfer to trim easily
- Skipping the rinse after APC use, leftover chemistry can discolor plastic over time
- Putting dressing on oxidation without cleaning, it looks good wet, then fades unevenly
- Wiping across textured grain too aggressively, it can leave light “polished” spots
If you keep seeing white chalk return quickly after you clean, the issue may be deeper oxidation, not your technique.
When it’s time to escalate (or ask a pro)
Some trim is simply past the easy stage, and that is not a failure. You may want professional help if:
- The plastic is blotchy with permanent-looking stains that do not change when cleaned
- There is peeling coating or prior product buildup that keeps smearing
- Trim sits next to fresh paint or delicate vinyl graphics, where strong chemicals are risky
- You are considering a heat treatment or abrasion, both can go wrong quickly
Detailing shops often have trim coatings, steamer tools, and experience with masking and leveling. Many cases are DIY-friendly, but there is no prize for turning a $20 cosmetic problem into a part replacement.
Key takeaways and a simple maintenance plan
- Clean first, protect second, most uneven results come from reversing that order.
- Use gentle tools that reach texture, a soft brush beats hard scrubbing.
- Pick protection based on your patience level, dressings are easier, coatings last longer but demand prep.
- For maintenance, wash normally and top up protection when water behavior and color start to drop off.
If you want the easiest repeatable routine, do a proper wash, spot-clean with diluted APC only where needed, then apply a thin, even protectant layer and buff it down. That single habit keeps black trim looking intentional instead of neglected.
FAQ
How often should I clean black plastic exterior trim?
In many cases, cleaning during regular washes is enough, then you add protectant every few weeks or when it starts looking dry. If you park outside full-time, you may need to refresh more often.
Will an all-purpose cleaner damage plastic trim?
It can, depending on strength, dwell time, and sun exposure. A diluted APC used briefly and rinsed well is usually safer than full-strength product left to dry.
What removes wax residue from textured trim?
A trim-safe cleaner and a soft brush usually work better than scraping. If residue is stubborn, test a mild solvent wipe on a hidden section first and wipe off quickly.
Is it okay to use tire shine on exterior trim?
Some people do, but many tire shines are oily and can sling onto paint, plus they tend to attract dust. A trim-specific protectant generally looks more natural and behaves better.
How do I stop trim from turning white after I clean it?
White haze often comes from oxidation revealed by cleaning, or from cleaner residue that dried in the grain. Rinse thoroughly, dry well, then apply a protectant designed for plastics.
Do ceramic trim coatings really last longer?
Often they do, but durability depends on prep and environment. If oils or old dressing remain, bonding suffers and results may disappoint, so surface prep matters more than marketing claims.
Can I restore severely faded trim without replacing it?
Sometimes you can improve it a lot with a restorer or coating, but deep oxidation may remain visible. If the plastic surface is degraded or uneven, replacement or professional correction may be the more predictable route.
If you’re trying to figure out how to clean car exterior trim black plastic on a daily driver and you want fewer streaks and re-fading, consider building a small “trim kit” with a gentle brush, dedicated towels, and a trim protectant you actually like using, it tends to be the difference between a one-time fix and a routine you keep.