
how to replace car brake caliper slides is usually the fix when your brakes feel uneven, a wheel runs hotter than the others, or your pads wear out way faster on one side.
The tricky part is that slide pins and boots look “fine” until you pull them out, and by then you may find rust, dried grease, torn rubber, or a pin that barely moves. If you handle it right, the caliper can float the way it should, braking stays smooth, and you avoid cooking a new set of pads.
Below is a practical, driveway-friendly walkthrough, plus quick checks to confirm you’re solving the right problem, what parts matter most, and where people waste time or accidentally create a squeak or a pull.
What brake caliper slides do (and why they fail)
On most floating calipers, the caliper body must glide on two guide pins so both pads clamp the rotor evenly. When those slides bind, you get one pad doing most of the work, heat builds, and the car may pull during braking.
Slides fail in pretty predictable ways, and most come down to contamination or lack of lubrication.
- Dried or wrong grease that turns tacky and slows movement
- Rust or pitting on the pin or inside the bracket bore
- Torn boots letting water and road salt into the pin channel
- Collapsed hose or piston issues that mimic a stuck slide (important to rule out)
According to NHTSA, brake system components and maintenance are central to safe vehicle operation, and any symptom of reduced braking performance should be addressed promptly and carefully.
Quick self-check: is it really the slide pins?
Before you buy parts, do a fast sanity check. Stuck slides are common, but they’re not the only cause of uneven braking.
Signs that often point to caliper slide trouble
- Inner pad and outer pad wear look very different on the same wheel
- One wheel smells “hot” after a normal drive, or the rotor looks blue/purple
- Caliper won’t compress smoothly when you press the piston back
- You can’t move the caliper side-to-side by hand once the bolts are out
Signs you might have a different problem
- Brake fluid leaks around the caliper piston dust boot (possible caliper issue)
- Brake hose looks swollen or braking stays applied after you release the pedal (possible hose restriction)
- Grinding with very thin pads on both sides (more “normal wear” than slide failure)
If you’re unsure, it’s reasonable to have a shop confirm the diagnosis, especially if you suspect a hydraulic issue. Brakes are safety-critical, and getting the “why” right matters.
Tools, parts, and materials (what’s worth having)
You can replace slide pins without exotic tools, but you do want the correct grease and the right torque.
- Floor jack and jack stands (never rely on the jack alone)
- Lug wrench, socket set, and a breaker bar
- Torque wrench
- C-clamp or brake piston tool (varies by vehicle)
- Wire brush, shop towels, brake cleaner
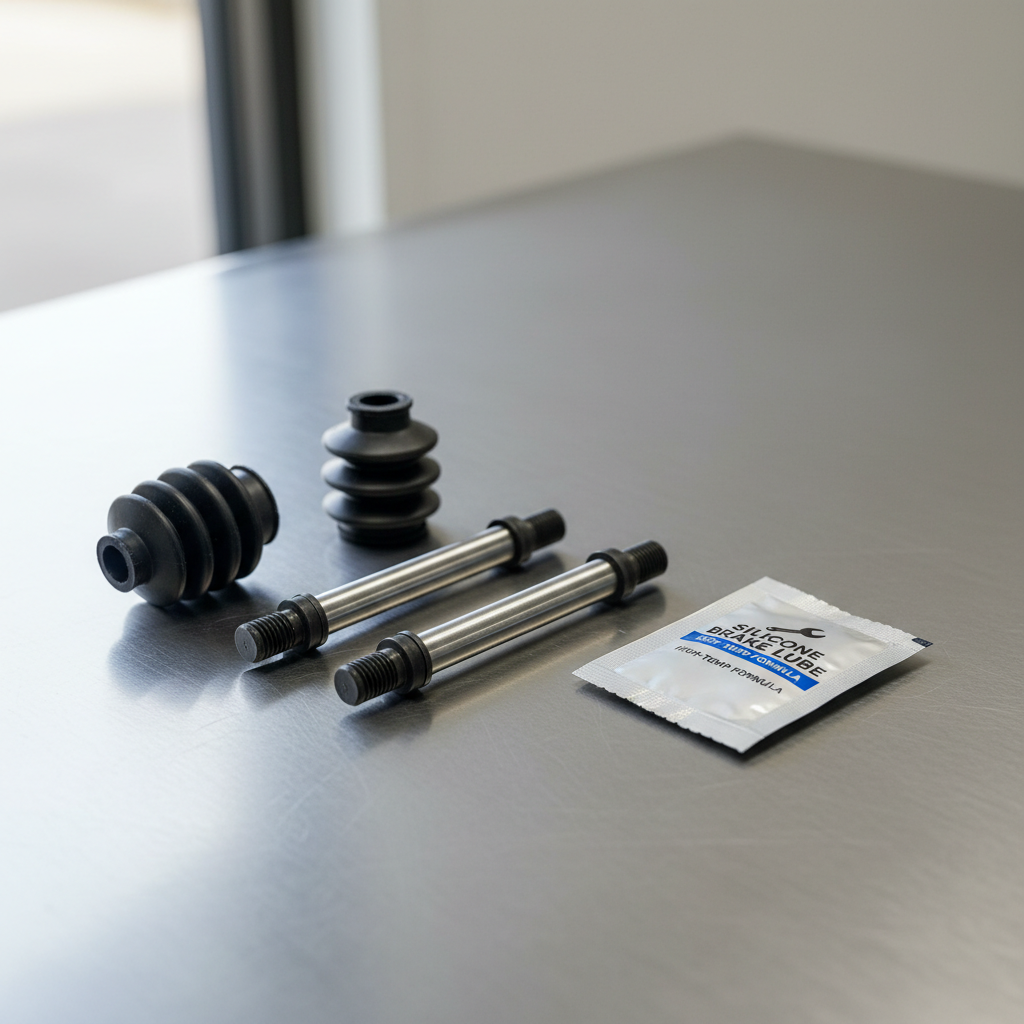
- Silicone-based brake caliper grease (safe for rubber boots)
- New slide pins and boots (often sold as a “hardware kit”)
Not sure what to buy? Many vehicles use one pin with a rubber damping sleeve and one without. Mixing them up can cause chatter or uneven glide, so match the old parts carefully.
Step-by-step: how to replace car brake caliper slides
how to replace car brake caliper slides comes down to safe lifting, clean bores, correct lubrication, and making sure the caliper floats freely before you put the wheel back on.
1) Prep and safely lift the vehicle
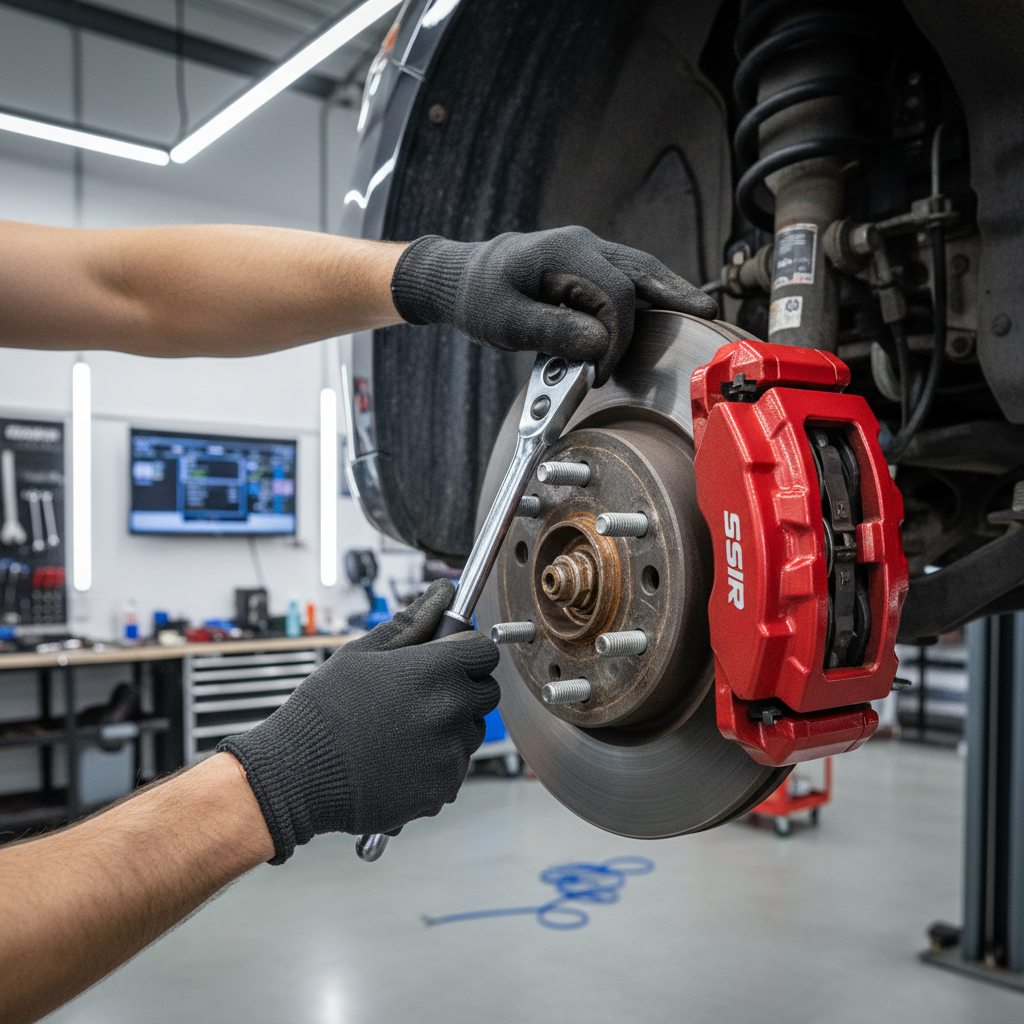
Park on level ground, set the parking brake (unless you’re working on the rear where that can complicate things), and chock the opposite wheels. Loosen lug nuts slightly, lift at the correct jack point, then set the car on stands.
Remove the wheel and turn the steering for better access on front brakes.
2) Remove the caliper and access the slide pins
Find the two guide pin bolts (typically on the back side of the caliper). Remove them and support the caliper with a hanger or bungee cord so the hose doesn’t take the weight.
- Do not let the caliper hang by the brake hose
- If the caliper won’t lift off, the slides may already be seized, work it gently rather than prying hard
3) Pull the slide pins, then inspect honestly
Remove each pin from its bore. This is where the truth shows up: rust rings, dry paste-like grease, or a torn boot lip that let water in.
- If a pin is pitted or heavily corroded, replace it
- If the pin is smooth but dirty, you can often reuse it after cleaning
- If boots are torn or stiff, replace them, otherwise the fix won’t last
4) Clean the bores and bracket surfaces
Spray brake cleaner into the pin channel (avoid blasting rubber directly for too long), wipe out old grease, then use a bottle brush or suitable bore brush if available. Light surface rust can be removed carefully; deep rust inside the bracket may call for replacing the bracket or using a remanufactured caliper bracket assembly if offered.
Keep grease off the rotor and pad friction surfaces. If you accidentally contaminate them, clean thoroughly and consider pad replacement if contamination is heavy.
5) Lubricate correctly (this is where many jobs go wrong)
Use a brake caliper grease intended for slide pins, commonly silicone-based. Petroleum greases can swell rubber in many cases, and “anti-seize everywhere” tends to create sticking later.
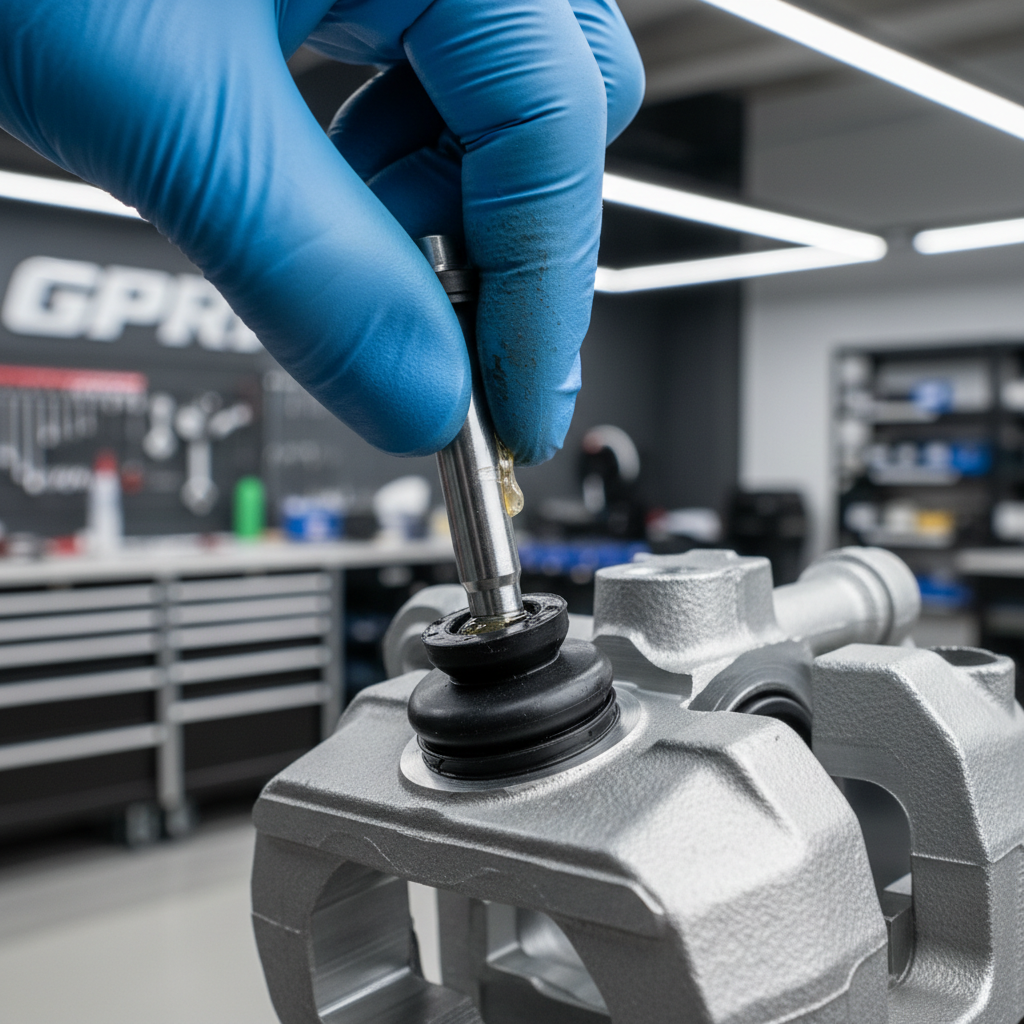
- Apply a thin, even coat to the pin shaft, not a giant glob
- Put a small amount inside the boot where the pin rides
- Seat the boot lips fully in the bracket and on the pin groove
When installed, the pin should slide smoothly and rebound slightly from the boot’s air seal. If it feels hydraulic or stuck, the boot may be twisted or the bore still dirty.
6) Reassemble, torque, and verify free movement
Reinstall the caliper over the pads, start the guide pin bolts by hand to avoid cross-threading, then torque to spec. Torque values vary a lot by vehicle, so check a repair manual for your make and model.
- Move the caliper side-to-side by hand, it should float without binding
- Reinstall the wheel, torque lug nuts in a star pattern
- Pump the brake pedal until it firms up before driving
A quick “what to do” table for common situations
This is the part most people wish they had before buying parts.
| What you find | What it usually means | What to do next |
|---|---|---|
| Pin moves but feels gritty | Contamination, early corrosion | Clean bore and pin, replace boots, re-grease |
| Pin seized, boot torn | Water intrusion, rust expansion | Replace pins and boots, clean bore thoroughly; consider bracket replacement if bore is badly rusted |
| One pin has rubber sleeve, other doesn’t | NVH damping design | Reinstall matching pins in original positions |
| Pads uneven even after slide service | Possible piston or hose issue | Re-check caliper piston action and hose; consider professional diagnosis |
Common mistakes that waste time (or create new problems)
Most DIY brake frustration comes from a few repeat offenders.
- Using the wrong lubricant: if the boot swells, the pin binds, then you’re back where you started
- Overpacking grease: too much can trap air and make the pin feel stuck, or push boots off their seats
- Skipping boot replacement: torn boots are basically an open door for water, especially in salt states
- Forgetting to pump the pedal: first stop can be scary if you don’t seat the pads
- Not checking pad hardware: seized abutment clips can mimic slide problems
According to SAE International, correct friction brake service practices emphasize using compatible materials and maintaining proper component movement to avoid brake drag and uneven wear.
When it’s smarter to get a professional involved
If you can’t get a seized pin out without heavy hammering, or the bracket bore looks deeply corroded, a shop may save you money by replacing the bracket or caliper assembly the right way.
- Brake pedal feels spongy or sinks, possible hydraulic issue
- Brake fluid leak anywhere around the caliper or hose
- Vehicle pulls hard even after slide service and pad inspection
- Rear electronic parking brake systems you’re not comfortable placing in service mode
Brakes are not a place to “see if it’s fine.” If any step feels uncertain, it’s reasonable to stop and consult a qualified mechanic.
Key takeaways before your test drive
- Slides must move freely, otherwise new pads can wear out fast and braking can feel inconsistent
- Replace boots when in doubt, they’re cheap compared to repeat work
- Use rubber-safe caliper grease and keep it off rotor and pad faces
- Torque matters, “good and tight” varies too much across vehicles
Conclusion: get the caliper floating again, then verify
If your symptoms match, replacing and servicing the pins is a solid way to restore smooth, even braking without replacing major parts. Take your time with cleaning and boot seating, that’s where the job becomes either a one-and-done fix or a repeat headache.
Your next step is simple: confirm free caliper movement by hand, torque everything to spec, then do a cautious test drive with a few gentle stops, checking for noise, pull, or heat at that wheel.
FAQ
How do I know if I need to replace the slide pins or just re-grease them?
If the pin surface is smooth and straight, a clean-and-lube often works. If you see pitting, heavy rust, or scoring, replacement tends to be the safer call because those defects chew up boots and trap grit.
Can stuck caliper slides cause vibration or warped rotors?
They can contribute to heat buildup and uneven pad contact, which may show up as vibration. That said, vibration can come from multiple causes, so treat slide service as one checkpoint, not a guaranteed cure.
What grease should I use for brake caliper slides?
Most technicians use a silicone-based caliper grease designed for slide pins and rubber boots. Avoid general-purpose grease unless it explicitly states brake-caliper compatibility.
Do I need to replace the caliper bracket if the pin bore is rusty?
Light rust you can clean is usually fine. If the bore is flaking, deeply pitted, or the pin still binds after cleaning, bracket replacement becomes more realistic, especially in heavy road-salt regions.
Is it normal for one slide pin to have a rubber sleeve?
Yes, many vehicles use a sleeve to reduce noise and vibration. Put that pin back in the same position it came from, mixing locations can change braking feel.
Should I replace pads and rotors when I replace caliper slides?
Not automatically. If pads are uneven, heat-damaged, or contaminated with grease, replacement is usually justified. Rotors with severe hot spots or thickness variation may also need service, a shop can measure if you’re unsure.
After replacing slide pins, why does the brake pedal feel low?
If you compressed the piston, the pads sit farther from the rotor until you pump the pedal a few times. If the pedal stays soft or spongy, stop driving and consider professional help because air in the system is possible.
How long does it take to replace caliper slide pins?
On many cars, one corner can take 30–90 minutes depending on rust and access. Seized hardware is what turns a quick job into an afternoon.
If you’re doing this in a driveway and want a more predictable result, a vehicle-specific hardware kit and the correct caliper grease usually make the difference between smooth sliding and “it still feels sticky,” and a repair manual for your exact model helps avoid torque and pin-position guesswork.