
how to check car battery terminals corrosion is mostly about knowing what “normal” looks like, then spotting the early changes before they turn into no-start mornings, dim lights, or random electrical gremlins.
Corrosion at the terminals is common in the U.S., especially with temperature swings and short-trip driving, and it can quietly add resistance to the connection. That resistance steals cranking power and can also confuse your charging system readings.
The good news is you don’t need fancy tools to do a solid inspection. You do need a safe routine, a few basic supplies, and a clear idea of when to clean it yourself versus when to replace parts.
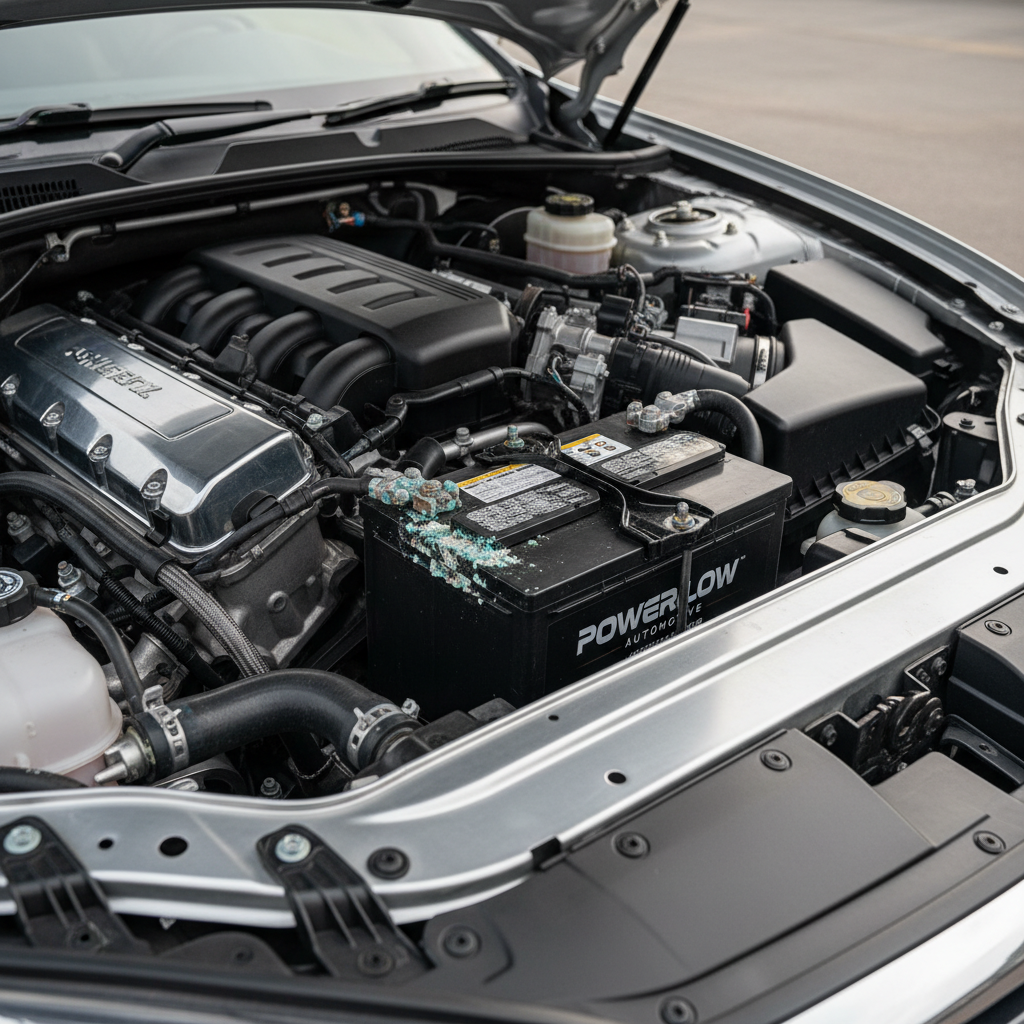
What battery terminal corrosion looks like (and why it matters)
Terminal corrosion usually shows up as a crusty, powdery buildup around the battery post and cable end. Many times it’s white or gray, sometimes blue-green, and it can spread under the clamp where you can’t see it until you loosen the connection.
Why you should care: corrosion increases electrical resistance, and cars hate resistance at high-current connections. That often means slower cranking, intermittent starting, or voltage drops that make electronics act strange.
- White/gray powder: commonly seen on the negative side, but it can appear anywhere.
- Blue-green crust: often associated with copper reacting in the cable end.
- Wet, oily grime: may point to a leak, overcharging, or contamination that needs a closer look.
According to the National Highway Traffic Safety Administration (NHTSA), battery-related issues can contribute to starting and electrical problems; if you’re seeing repeat symptoms, it’s worth addressing the root cause instead of only jumping the car.
Why corrosion happens: the real-world causes
People often assume corrosion means the battery is “bad.” Sometimes it does, but often it’s just chemistry plus conditions.
- Normal off-gassing: many lead-acid batteries vent small amounts of gas, and the terminals are where the reaction products collect.
- Loose or marginal connections: tiny arcing and vibration can speed buildup and heating at the clamp.
- Overcharging: a failing alternator regulator can push voltage high, increasing battery gassing and deposits.
- Heat and short trips: under-hood heat and frequent starts without long charging periods can make issues show up faster.
- Battery age or seepage: older batteries may weep around posts, leaving residue that turns crusty.
If you’re learning how to check car battery terminals corrosion, keep this in mind: cleaning helps, but if corrosion returns quickly, the “why” matters more than the “how.”
Quick self-check: are your terminals the problem?
Before you grab tools, use this quick checklist. It helps you decide whether you likely have a terminal issue, a weak battery, or something else.
Symptoms that often point to terminal corrosion
- Engine cranks slowly, but the battery is not that old
- You need a jump start after the car sits, yet it drives fine afterward
- Headlights dim noticeably during cranking
- Random dash warnings that disappear after restarting
- White/green crust visible near one terminal
Signs it might be more than corrosion
- You smell rotten eggs (sulfur) around the battery area
- Battery case looks swollen or cracked
- Repeated dead battery after a long drive
- Corrosion returns within a week or two after cleaning
Safety note: battery acid and hydrogen gas can be hazardous. If you see cracks, heavy leaking, or the battery feels unstable in its tray, it may be safer to stop and consult a qualified mechanic.
How to check car battery terminals corrosion safely (step-by-step)
This is the practical inspection routine that covers what you can see and what’s hiding under the clamp. Work in a ventilated area, engine off, keys out, and avoid open flames or smoking nearby.
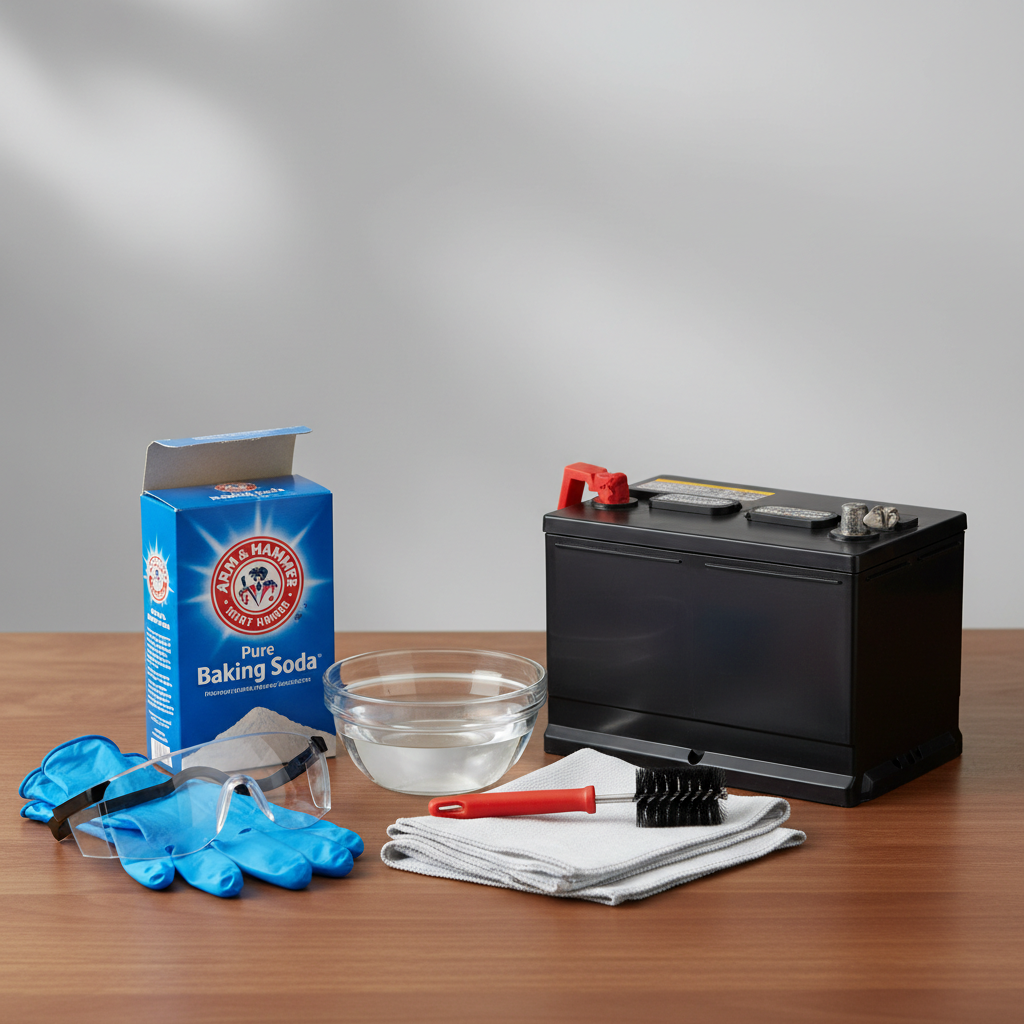
Tools you’ll want
- Nitrile gloves and eye protection
- Flashlight
- 10mm wrench or the size your clamps use
- Battery terminal brush (or an old toothbrush for light buildup)
- Baking soda and water (for neutralizing acid residue)
- Clean rags or paper towels
Inspection steps
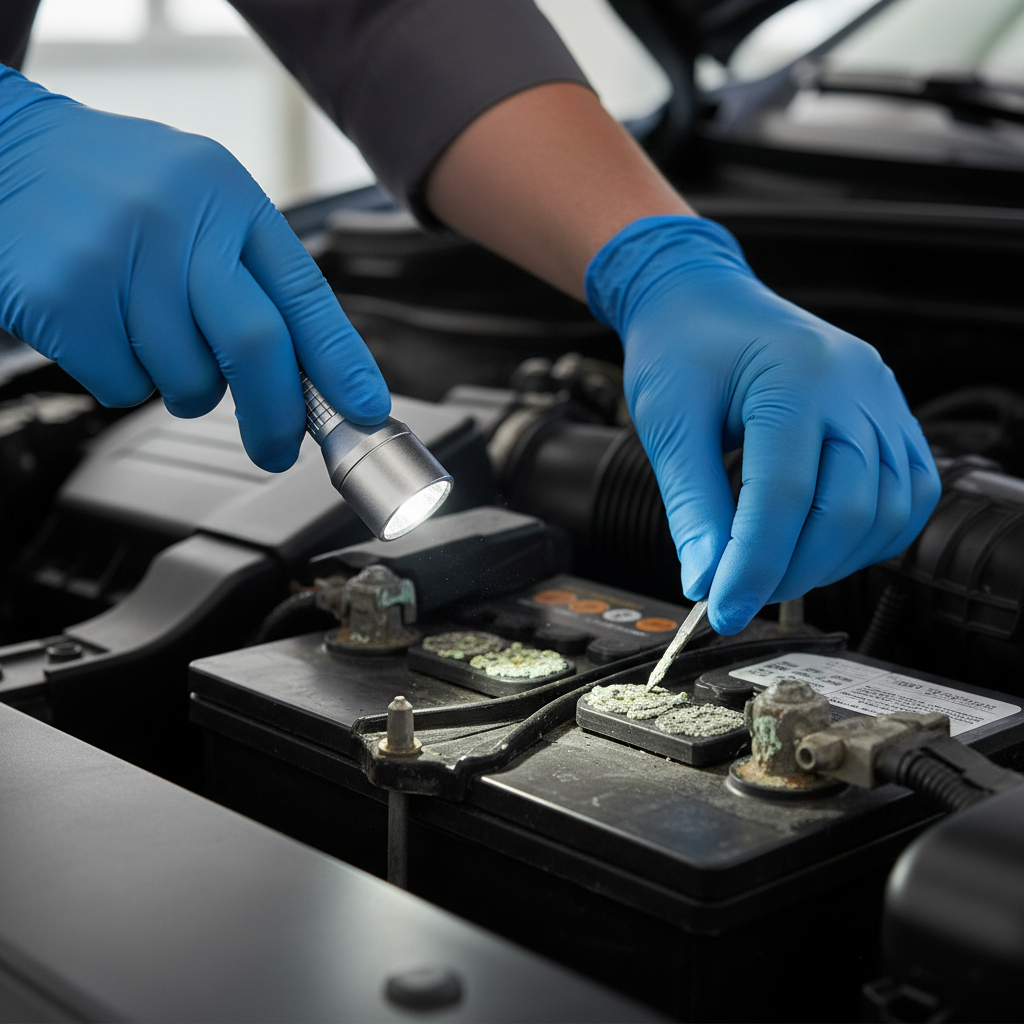
- Look first, don’t touch first: check for crust, wet spots, frayed cables, or melted insulation.
- Check clamp tightness: a clamp that twists by hand is a red flag, but don’t overtighten yet.
- Disconnect in the safer order: typically negative (-) off first, then positive (+). Reconnect positive first, negative last.
- Lift the clamp and inspect underneath: corrosion often hides where metal meets metal.
- Inspect the cable end: if the copper looks blackened or powdery inside the insulation, cleaning the outside may not fix it.
If your goal is simply how to check car battery terminals corrosion, the moment you find crust under the clamp, you already have a likely cause of voltage drop, even if the top looks “fine.”
Cleaning vs replacing: what to do after you find corrosion
Light to moderate buildup is often DIY-friendly. Heavy corrosion, damaged cables, or repeated returns often need parts replacement or a charging-system check.
What to do for light to moderate corrosion
- Mix baking soda with a little water to form a thin paste, apply to crusty areas, let it fizz briefly, then wipe.
- Use a terminal brush to clean the battery post and the inside of the clamp until metal looks bright.
- Dry everything thoroughly, moisture left behind can encourage new buildup.
- Reconnect clamps, then tighten until snug and stable.
When replacement is the smarter move
- Cable ends look swollen, cracked, or won’t tighten properly
- Corrosion has traveled under insulation (hidden damage)
- Battery post is misshapen or pitted badly
- You cleaned it twice and symptoms keep returning
Decision table: what you see vs what it usually means
If you want a faster call on next steps, this table covers the most common findings. It’s not a diagnosis, but it’s a useful filter.
| What you notice | What it often suggests | What to do next |
|---|---|---|
| Thin white powder around one terminal | Early-stage corrosion, mild venting or residue | Clean terminals, check tightness, recheck in 2–4 weeks |
| Blue-green crust on cable end | Copper reaction, moisture intrusion, aging cable | Clean and inspect under insulation; consider replacing end |
| Clamp won’t stay tight | Stretched clamp, worn hardware, damaged post | Replace clamp or cable; avoid overtightening |
| Heavy buildup plus slow cranking | High resistance connection, possible weak battery too | Clean thoroughly, then test voltage/charging system |
| Corrosion returns quickly after cleaning | Overcharging, battery leak, persistent contamination | Have alternator/regulator and battery tested |
Common mistakes that waste time (or create risk)
Most failed “fixes” come from skipping the hidden parts of the connection or creating a safety issue without realizing it.
- Only wiping the top: corrosion under the clamp still blocks current.
- Mixing up disconnect order: in many cars, removing positive first increases short-circuit risk if a tool hits metal.
- Overtightening the clamp: battery posts can crack or deform, then the problem gets worse.
- Using aggressive tools carelessly: gouging posts or clamps reduces contact area.
- Ignoring the cause: if charging voltage is off, you can clean forever and still lose the battle.
According to OSHA, eye and face protection is recommended when working around chemical splash hazards; battery residue is a good reason to take that seriously.
When to get a professional test (and what to ask for)
If you’ve learned how to check car battery terminals corrosion and the buildup looks severe, or symptoms persist after cleaning, a basic electrical test saves guesswork. Many auto parts stores and shops can do quick checks, but results vary by equipment and procedure.
- Ask for a battery load test (checks battery under demand, not just resting voltage).
- Ask for a charging system test (alternator output and regulator behavior).
- If corrosion keeps coming back, ask them to inspect cable condition and voltage drop across connections.
Also, if your vehicle has start-stop tech or an AGM battery, replacement and charging specs can be more sensitive; when in doubt, checking the owner’s manual or consulting a technician tends to prevent expensive mistakes.
Key takeaways you can use today
- Visible crust is only half the story, always inspect under the clamp.
- Cleaning helps many cases, but repeat corrosion often points to charging issues, cable damage, or battery age.
- Work safely: gloves, eye protection, ventilation, and correct disconnect order.
- If symptoms stay after cleaning, a load test and charging test usually clarifies the next step.
Conclusion: keep the check simple, and be honest about what you find
Most drivers don’t need to overthink this. Do a careful visual check, confirm clamp tightness, look under the cable ends, and clean what you can reach safely. If the corrosion is heavy or comes back fast, don’t treat it like a cosmetic issue, get the battery and charging system tested so you’re not stuck chasing the same problem.
If you want an easy next step, put a reminder on your calendar to re-check the terminals in a few weeks, especially after a cleaning. That one follow-up tells you whether you solved the problem or just cleared the symptoms.
FAQ
How often should I check my battery terminals for corrosion?
For many vehicles, a quick look every oil change is enough. If you’ve had starting issues or you just cleaned corrosion, checking again in 2–4 weeks helps confirm whether it’s returning.
Is blue-green corrosion on battery terminals bad?
It can be. Blue-green buildup often suggests copper reaction at the cable end, and it may indicate corrosion traveling inside the cable. If cleaning the outside doesn’t stop it, replacement is often more reliable than repeated brushing.
Can corrosion cause a car not to start even with a new battery?
Yes, it can. A new battery still needs a low-resistance connection. Corroded or loose clamps can drop voltage enough that the starter won’t crank normally.
What’s the safest order to disconnect battery terminals?
In many common setups, disconnect negative (-) first, then positive (+), and reconnect in reverse. Some vehicles have special procedures, so it’s smart to check the owner’s manual if you’re unsure.
What if corrosion keeps coming back after I clean it?
That’s usually a sign to look beyond the terminals. A battery near end-of-life, a small leak around posts, or an overcharging alternator regulator can all contribute, so a professional charging-system test is a reasonable next move.
Do anti-corrosion pads or terminal protectant sprays actually work?
They often help reduce moisture and slow buildup when the terminals are clean and dry first. They won’t fix a loose clamp, a damaged cable end, or a battery that’s venting excessively.
Is it okay to pour hot water on battery corrosion?
Some people do, but it can be messy and may spread residue in the engine bay. A controlled baking-soda solution and proper brushing is usually easier to manage, and if you’re not comfortable around batteries, a shop can do it quickly.
If you’re dealing with repeated corrosion, hard starts, or you’d rather not troubleshoot electrical issues yourself, a local shop can test the battery and charging system and confirm whether you need cleaning, new cables, or a battery replacement without guessing.