
How to replace car windshield washer pump is usually a pretty doable DIY job when your washer jets stop spraying, sputter, or go silent, even though the reservoir is full.
It matters more than people think because a weak washer system turns night driving, bugs, road salt, and sudden grime into a visibility problem, and visibility is safety. The good news, most washer pump failures come down to a handful of common issues.
This guide helps you confirm the pump is actually the problem, pick the right replacement, and swap it with less mess, plus a few “don’t skip this” details that prevent leaks and blown fuses.
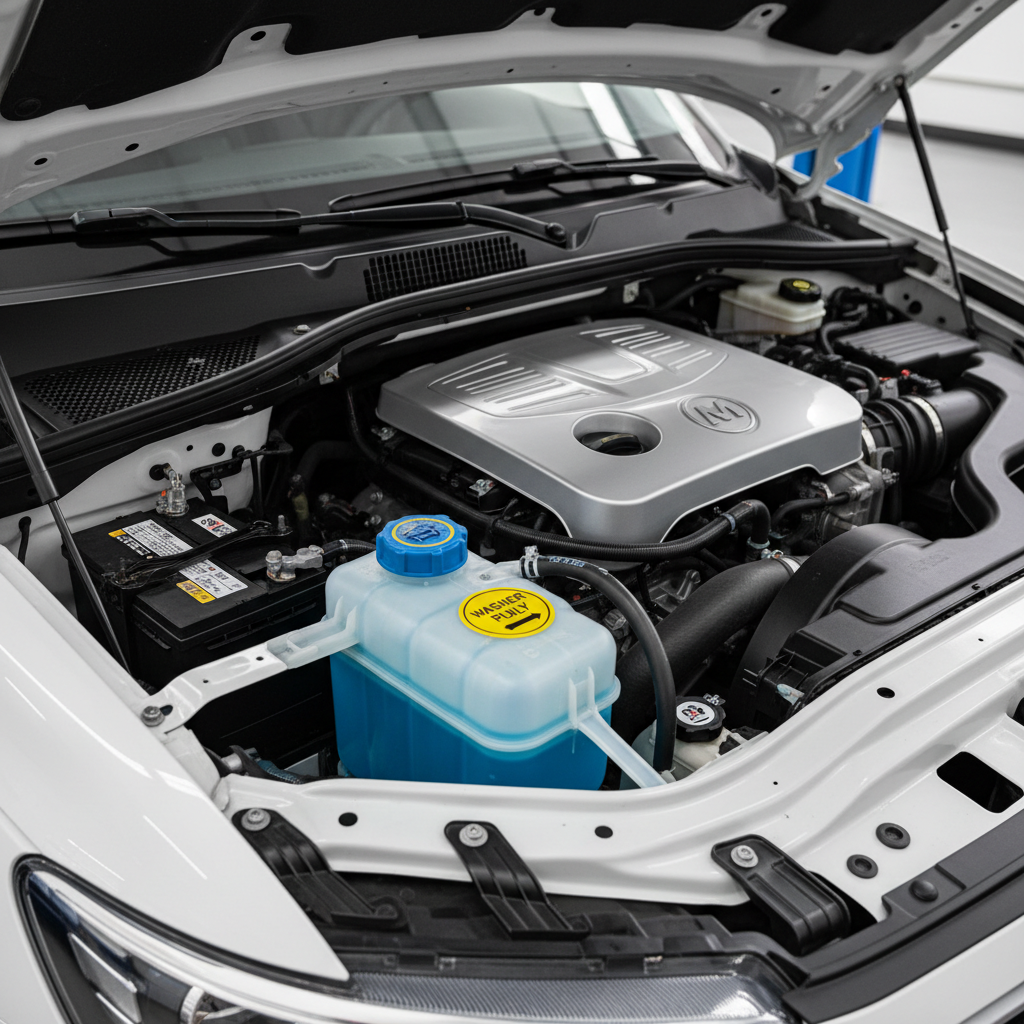
Common signs the washer pump is the real issue
Before buying parts, match your symptoms to what typically fails. The pump is common, but it’s not the only culprit.
- No sound from the reservoir area when you pull the stalk: often a fuse, wiring, switch, or a dead pump.
- Buzzing sound but no spray: clogged nozzles, a pinched hose, or a cracked line that leaks before the jets.
- Weak spray: partially clogged filter screen, kinked hose, or low voltage at the pump.
- Fluid puddle under the washer tank: loose grommet, cracked reservoir, or pump not seated well.
- Front works but rear doesn’t (on wagons/SUVs): rear line issue, check valve, or rear pump if equipped.
According to NHTSA, clear outward visibility is part of safe vehicle operation, and washer systems support that visibility when the windshield gets contaminated by road spray.
Quick diagnosis: a 10-minute checklist before you replace anything
If you want to avoid replacing a good pump, run this quick check. You’re looking for easy wins like a blown fuse or a disconnected hose.
- Check washer fluid level and confirm it’s not frozen. In cold states, summer fluid can slush and block flow.
- Listen for pump noise near the reservoir while a helper activates the washer.
- Inspect the hose from reservoir to hood for splits, loose fittings, or kinks.
- Check the nozzles for clogging. A pin or compressed air can clear wax and debris.
- Verify the fuse using the fuse box diagram. Replace only with the same amperage.
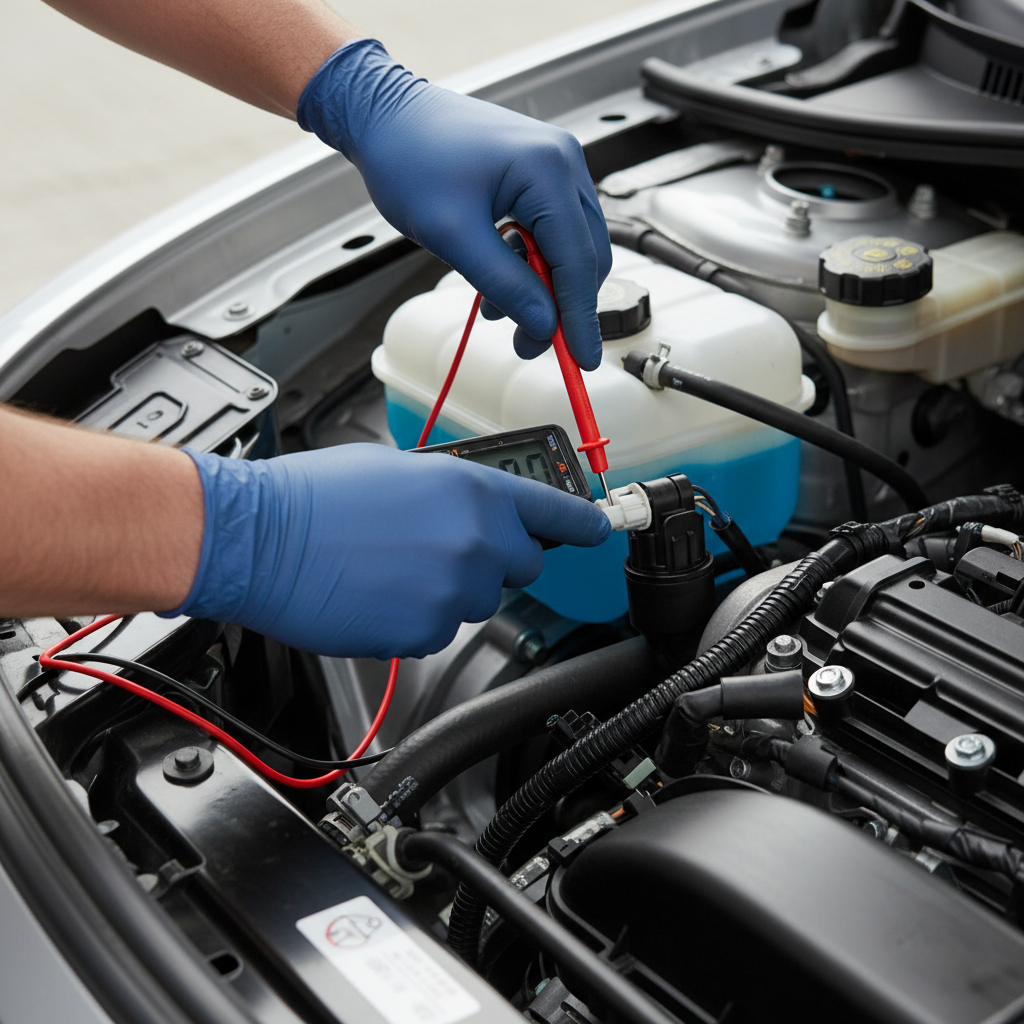
- Test for power at the pump connector with a multimeter or test light while the washer is commanded on.
If you have power and ground at the connector but no pumping action, replacement is usually justified. If there’s no power, you may be chasing wiring, a relay, or a steering column switch, and that path changes the job.
Tools, parts, and what to buy (without overthinking it)
You rarely need specialty tools, but having the right small items saves time and reduces spills.
Basic tools
- Safety glasses and gloves
- Flathead screwdriver or trim tool (for splash shields)
- Pliers (for hose clamps, if present)
- Catch pan and shop towels
- 10mm socket set (common for inner fender liners)
- Multimeter or test light (strongly recommended)
Parts and supplies
- Correct washer pump for your year/make/model, note if it’s front-only or front/rear
- Rubber grommet/seal (often worth replacing with the pump to prevent leaks)
- Washer fluid suitable for your climate
Buying tip: many pumps look identical but use different connectors or outlet orientations. Match the electrical plug shape and the number/size of outlets before you install.
Step-by-step: how to replace a car windshield washer pump
This is the “most vehicles” method where the pump presses into a grommet on the reservoir. Access varies, sometimes from the top, often through the wheel well.
1) Make it safe and easy to access
- Park on level ground, set parking brake, turn ignition off.
- If access is through the wheel well, turn the steering wheel outward or raise the car and support it with jack stands.
- Remove the plastic splash shield/inner fender liner fasteners as needed.
2) Prep for spills
- Place a catch pan under the reservoir.
- If the reservoir is full, siphon a bit out, or be ready for a quick drain when the pump comes out.
3) Unplug and remove the old pump
- Unplug the electrical connector, press the tab gently rather than yanking wires.
- Pull the washer hose off the pump outlet, twisting slightly helps. Some cars use a spring clamp.
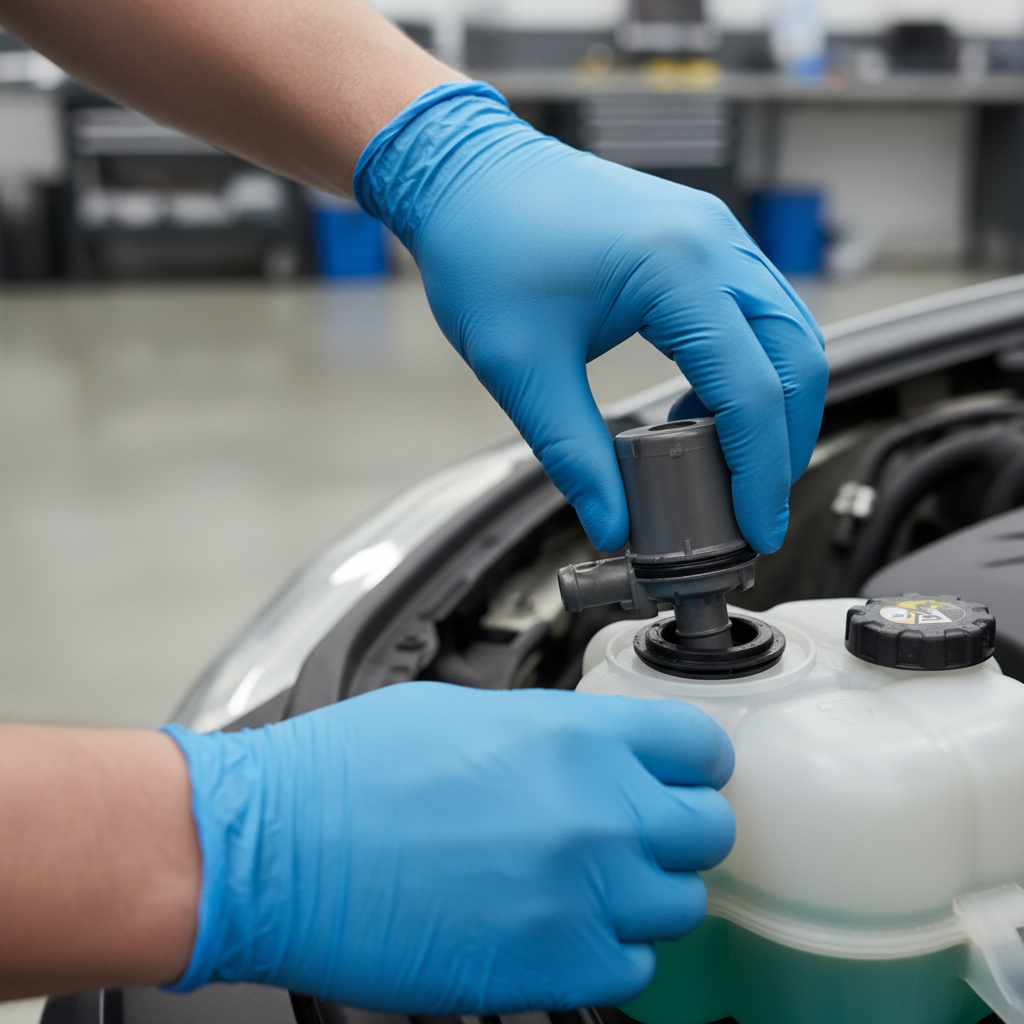
- Pull the pump straight out of the reservoir grommet. A gentle wiggle is normal, prying hard is how reservoirs crack.
4) Inspect the grommet and filter screen
- If the grommet is stiff, torn, or misshapen, replace it.
- Some setups include a small inlet filter screen. Clean it if it’s reusable.
5) Install the new pump
- Seat the new grommet fully in the reservoir opening.
- Lubricate lightly with washer fluid (usually enough) and press the pump in until fully seated.
- Reconnect the hose and electrical connector.
6) Test before reassembly
- Refill washer fluid as needed.
- Cycle the washer for a few seconds and check for leaks around the grommet.
- Confirm spray pattern at the nozzles. If it still doesn’t spray, stop and re-check for pinched hoses or nozzle blockage.
Once it sprays consistently, reinstall liners and clips, then do one more quick test. It’s annoying to button everything up and find a slow leak later.
Troubleshooting after replacement (when it still won’t spray)
When a new pump doesn’t fix it, the issue is usually upstream power or downstream flow. Here are the high-payoff checks.
- Pump runs but no fluid moves: hose on the wrong outlet, reversed hose routing, or a blocked check valve.
- No pump sound and no spray: fuse popped again, connector not seated, or no command signal.
- Spray hits low or off-center: nozzle aim shifted, or nozzle partially clogged with wax.
- Works intermittently: weak ground, corrosion in connector, or failing multifunction switch.
A quick trick: disconnect the hose at the pump outlet and command the washer briefly. If fluid shoots out there, the pump is fine and the blockage sits in the line or nozzle.
Cost, time, and difficulty: realistic expectations
Most people finish in under an hour once access is clear, but wheel-well access and stuck clips can stretch it.
| Item | Typical range | Notes |
|---|---|---|
| DIY time | 30–90 minutes | Access is the main variable, not the pump itself |
| Part cost (pump) | Varies by vehicle | OEM usually costs more, aftermarket quality varies |
| Extra parts | Low cost | Grommet and clips are small but often worth replacing |
| Shop labor | Varies by region | Paid work makes sense if access is tight or wiring is suspect |
Key takeaway: if your diagnosis confirms power at the connector and the reservoir isn’t cracked, replacing the pump is often a clean win.
Mistakes that make this job harder than it needs to be
- Skipping the fuse check: a blown fuse can mimic pump failure, and you end up chasing your tail.
- Reusing a bad grommet: the pump installs fine, then seeps slowly and empties the tank overnight.
- Pulling on wiring: broken connector tabs and stressed wires cause intermittent failures later.
- Installing the wrong pump orientation: outlet aimed wrong can kink the hose as soon as you reinstall the liner.
- Not clearing clogged nozzles: new pump, same weak spray, and it looks like the part “didn’t work.”
According to SAE International, good maintenance practices emphasize verifying the root cause before replacing components, because many vehicle issues have multiple plausible failure points.
When it’s smarter to get professional help
If you’re comfortable removing liners and checking a fuse, you can usually handle the job. But a few situations deserve extra caution.
- Repeated blown fuses: that can point to a short circuit, and diagnosing shorts can get technical quickly.
- No power at the pump even with a good fuse: you may need wiring diagrams and access to harness routing.
- Cracked reservoir or hard-to-reach tank: some cars require bumper removal or significant disassembly.
- Winter freeze-ups: if lines are frozen, forcing the system can damage hoses, letting a shop thaw and pressure-check may be safer.
If you suspect electrical issues beyond the pump, a qualified mechanic or automotive electrician can confirm the fault without guesswork.
Practical wrap-up and next steps
How to replace car windshield washer pump comes down to two things: confirm the pump is dead with a quick power-and-flow check, then install the new unit with a fresh grommet so it seals. Most of the frustration people run into has nothing to do with the pump itself, it’s access and small leaks.
If you want a simple plan, do this next: check the fuse, verify voltage at the connector, then replace the pump and grommet together and test for leaks before reassembly.
FAQ
How do I know if my windshield washer pump is bad or the nozzles are clogged?
If you hear the pump running and see no fluid at the nozzles, disconnect the hose at the pump outlet briefly. Flow there usually means clogged nozzles or a blocked line, not a failed pump.
Do I need to drain the washer reservoir before replacing the pump?
Not always, but expect spillage because the pump usually sits low on the tank. Siphoning some fluid or having a catch pan ready keeps the job cleaner.
Can I replace just the rubber grommet instead of the pump?
If the pump runs and pushes fluid but you see leaking at the tank opening, the grommet may be the only problem. If the pump is silent with confirmed power, the pump itself is more likely.
Why did my new washer pump work once and then stop?
Common causes include a loose connector, corroded terminals, or a hose that kinks when the splash shield goes back on. Double-check routing and connector fit, then recheck the fuse.
Is it okay to use water instead of washer fluid after replacing the pump?
In many situations it can work short-term, but in colder climates water can freeze and split lines or damage the reservoir. Washer fluid is formulated to resist freezing and clean better.
Where is the windshield washer pump usually located?
Most vehicles mount it directly on the washer reservoir, accessible from the engine bay or behind the front wheel well liner. The filler neck cap is a good “landmark” to find the tank.
What if my car has front and rear washers?
Some models use one pump with a diverter, others use separate pumps. Match the original setup by checking the number of outlets and the wiring connector before ordering parts.
If you’re in the middle of a no-spray situation and want the least drama, bring your VIN when buying the pump, grab a new grommet at the same time, and do the quick voltage test first, it’s the small step that usually saves the most time.