
how to clean car interior roof headliner stains usually comes down to one rule: clean gently and keep the fabric as dry as possible, because headliners hate over-wetting.
If you have water rings, makeup smudges, smoke residue, or that mystery spot above the driver’s seat, you’re not alone, headliner stains are common and easy to make worse with the wrong cleaner or too much scrubbing.
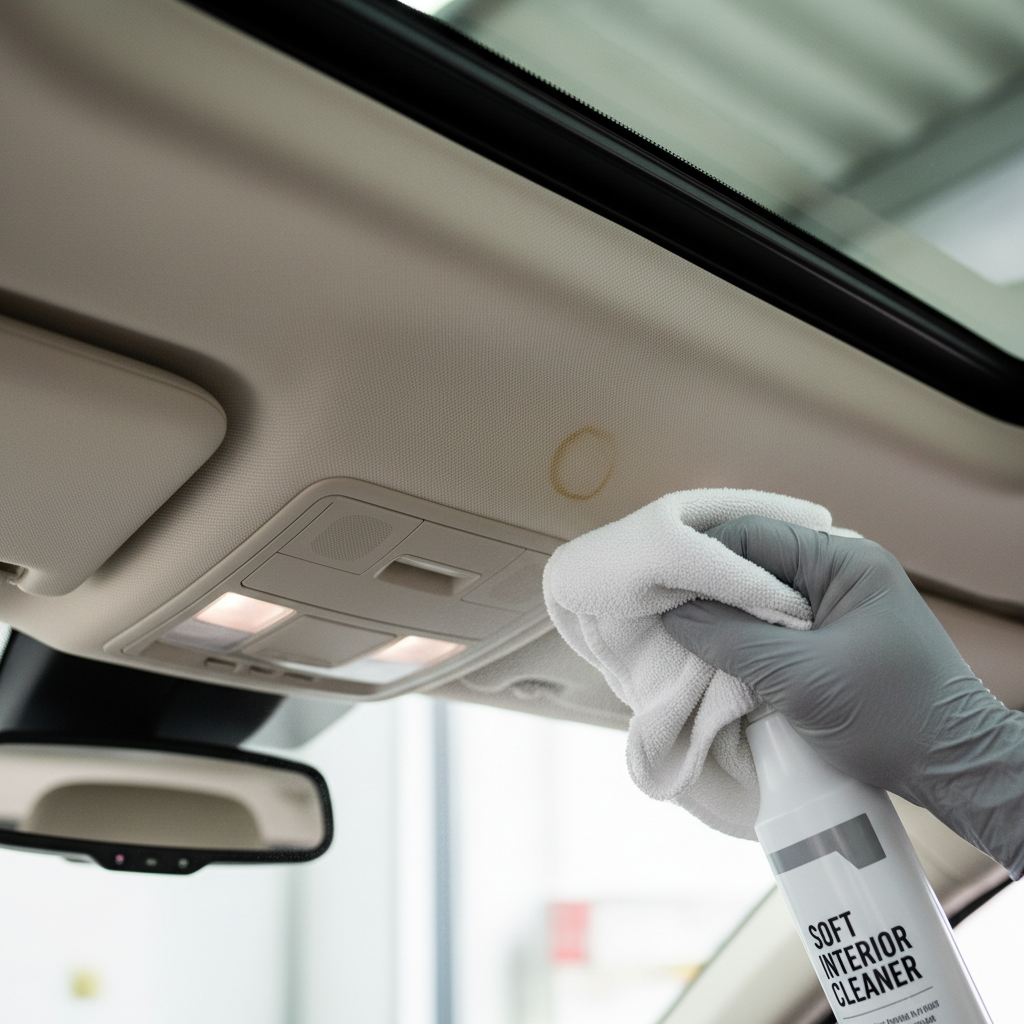
This guide walks you through quick diagnosis, a simple tool list, what to do for the most common stain types, and when it’s smarter to call a detailer before the liner starts sagging.
Why headliner stains are tricky (and why they come back)
Headliners aren’t built like seats or carpets, most are a thin fabric layer bonded to foam, then glued to a backing board. That foam can hold moisture and cleaning chemicals, and if it gets saturated the adhesive may weaken.
- Over-wetting can cause water rings, “bleed-through” stains, or sagging fabric.
- Scrubbing hard can fuzz the fabric, create shiny spots, or separate fabric from foam.
- Wrong chemistry (strong solvents, harsh alkaline cleaners) can discolor fabric or soften glue.
- Stains migrate when moisture pulls oils and grime outward, so the spot looks bigger after drying.
According to the U.S. Environmental Protection Agency (EPA), many cleaning products can affect indoor air quality, so using minimal product and good ventilation is a practical move inside a closed cabin.
Quick check: what kind of stain are you dealing with?
Before you clean, spend 30 seconds figuring out what you’re likely removing. It changes the approach and helps you avoid spreading it.
- Yellow/brown rings: often water leaks, condensation, or previous over-wetting.
- Dark smudges near doors: hand oils, hair product, makeup, general touch points.
- Random dots: soda splatter, coffee mist, kids, or an aerosol product.
- Gray film across the whole panel: smoke or vaping residue, road grime, dust buildup.
- Rust-colored specks: sometimes from a roof leak around metal, or transferred particles.
If the headliner feels loose, rippled, or already drooping, treat it as “fragile” and skip any wet method beyond very light misting.
Tools and products that are usually safe (and what to skip)
You don’t need a full detailing cart, but you do need the right texture and the right amount of moisture control.
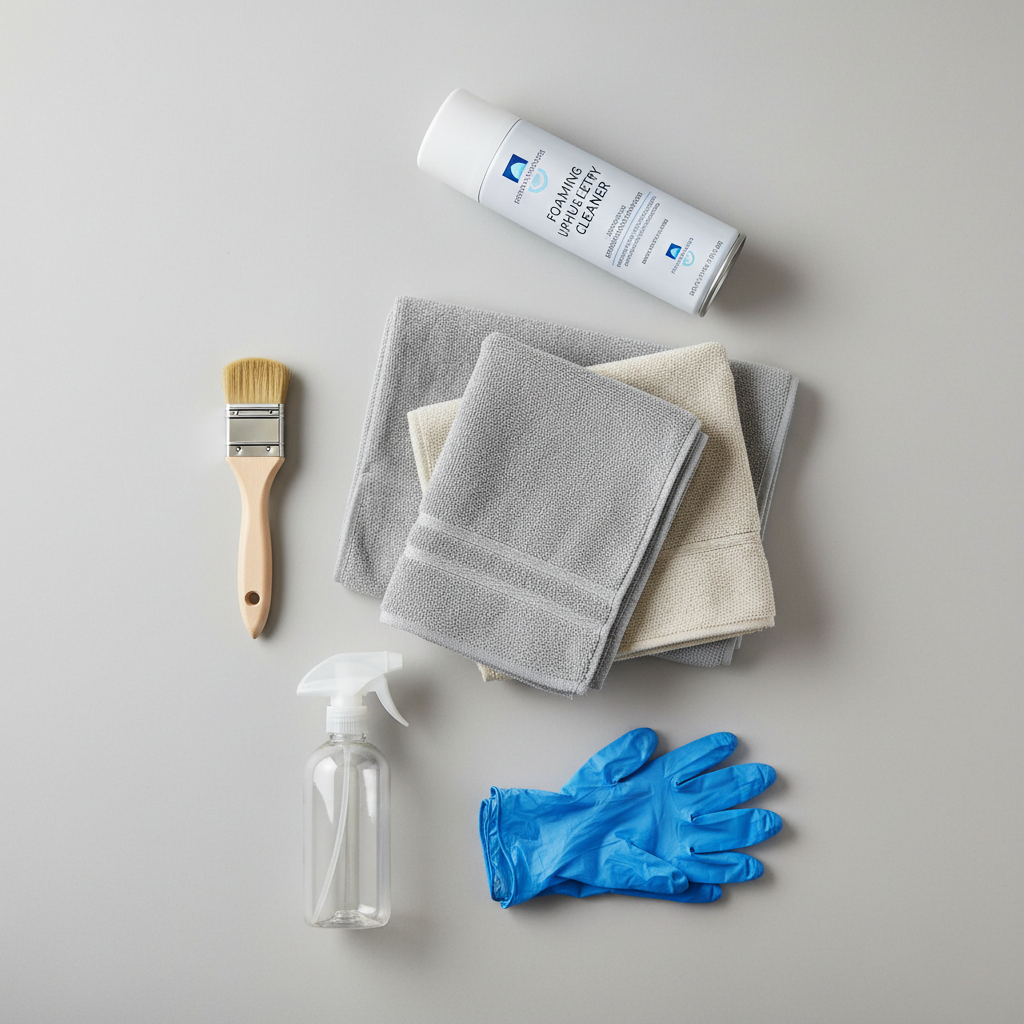
What to gather
- 2–3 clean microfiber towels (one for product, one for blotting dry)
- Soft interior brush or a clean makeup brush (for agitation without abrasion)
- Foaming upholstery cleaner or a gentle interior cleaner that can be used on fabric
- Spray bottle with water for a fine mist (optional)
- Vacuum with soft brush attachment (optional but helpful)
What to avoid most of the time
- Steam cleaners: effective in some hands, but easy to overheat glue or over-wet foam.
- Soaking sprays straight onto the ceiling: gravity works against you, it runs and saturates.
- Bleach/ammonia-heavy cleaners: higher risk of discoloration and lingering odor.
- Strong solvents (acetone, lacquer thinner): can damage adhesives and plastics nearby.
A safe step-by-step method for most headliner stains
This is the core process I’d use for most “unknown” spots, because it prioritizes control. If you only remember one thing about how to clean car interior roof headliner stains, it’s this: apply product to the towel, not the roof.
- 1) Dry prep: lightly vacuum the area with a soft brush attachment if there’s loose dust. Don’t press hard.
- 2) Spot test: dab a hidden edge (near a grab handle or visor mount) with your cleaner on a towel, check for dye transfer or discoloration after a minute.
- 3) Apply foam to a towel: spray foam onto the microfiber, not directly overhead.
- 4) Blot, don’t scrub: press and lift, working from the outside toward the center so you don’t create a ring.
- 5) Gentle agitation (if needed): use a soft brush with light strokes, then blot again.
- 6) “Rinse” with minimal moisture: a second towel lightly misted with water can pick up residue, keep it barely damp.
- 7) Dry: blot with a dry towel, then let the cabin air out with doors open. A fan helps.
Key point: if you see the fabric darkening in a wide area, you’re using too much moisture, stop and dry it out before continuing.
Stain-specific fixes (what tends to work better)
Not every mark needs the same chemistry. These are common scenarios and the “least dramatic” approach that often works.
| Stain type | What it usually is | Approach | What to watch for |
|---|---|---|---|
| Water ring | Moisture wicking through foam | Lightly dampen a wider area, then blot evenly to blend | Soaking makes the ring larger |
| Hand oils / makeup | Skin oils, cosmetic waxes | Foaming upholstery cleaner on towel, short dwell time, blot | Rubbing can fuzz fabric |
| Smoke film | Tar and residue | Gentle interior cleaner, multiple light passes, ventilation | Odor may persist without deeper detailing |
| Food/coffee spots | Sugars, tannins, oils | Foam cleaner, blot, then very light water wipe to reduce stickiness | Sticky residue attracts new dirt |
Water stains: the “blend, don’t chase the dot” trick
A water ring often looks like a single stain, but it’s really a boundary where minerals and grime dried. The counterintuitive move is to even out moisture across a slightly larger area so it dries uniformly. Use a barely damp towel, feather the edges, then blot dry.
Oily marks: keep the contact time short
Oils lift better with surfactants, which is why foaming upholstery cleaners tend to outperform plain water. Let the foam sit briefly on the towel, then dab the area, if you let strong cleaners dwell too long you risk lightening the fabric.
When headliner stains mean a bigger problem (leaks, sagging, mold risk)
Sometimes cleaning is the easy part and the real issue sits above the fabric. If stains keep returning after you learn how to clean car interior roof headliner stains properly, it’s worth checking for a source.
- Recurring yellow/brown spots after rain: possible roof rack mounts, sunroof drains, antenna gasket, windshield seal issues.
- Musty smell or visible spotting: could be moisture trapped in foam, mold is possible in damp conditions, consider professional assessment.
- Sagging or “bubbling” fabric: adhesive may be failing, wet cleaning can accelerate it.
According to the Centers for Disease Control and Prevention (CDC), mold can affect people differently, especially those with allergies or asthma, so if you suspect mold in a vehicle it may be safer to consult a qualified professional rather than trying aggressive DIY chemicals.
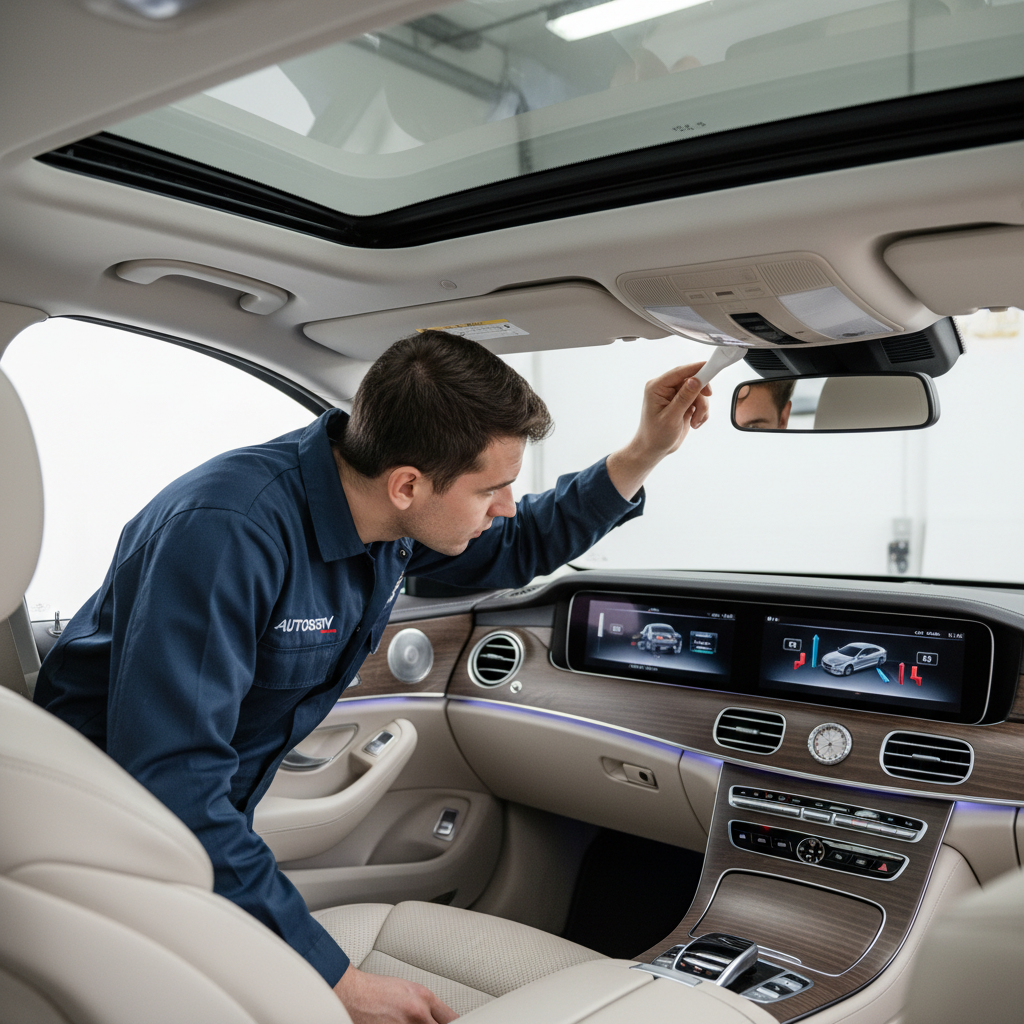
Common mistakes that make stains worse
A lot of frustration comes from doing one small thing that seems reasonable, then the headliner punishes you for it.
- Spraying cleaner overhead: it runs, drips into seams, and soaks the foam behind the fabric.
- Using a stiff brush: it can pill the fabric, especially on lighter headliners.
- Cleaning a tiny circle only: classic way to create a ring, blend edges instead.
- Not removing residue: leftover cleaner can attract dirt and leave a dull patch.
- Closing the car to “dry”: trapped humidity slows drying and can leave odors.
Practical takeaways and a simple action plan
If you want a low-risk plan: start dry, spot-test, use foam on a towel, blot patiently, then dry with airflow. That’s the backbone of how to clean car interior roof headliner stains without turning one spot into a bigger project.
- Small fresh stain: one gentle pass, then stop once improvement stalls.
- Older set-in stain: expect multiple light passes on different days, not one aggressive session.
- Recurring water mark: investigate leaks before you keep cleaning.
If you’re ready to tackle it, grab two clean microfiber towels and a foaming upholstery cleaner, do a quick spot test, and treat the first area like a trial run, you’ll learn how your specific headliner reacts before you chase every mark in the cabin.
FAQ
Can I use a Magic Eraser on a headliner?
I’d be cautious. Melamine foam acts like a very fine abrasive, and many headliners can get fuzzy or leave a lighter patch. If you try it, do a hidden spot test and use very light pressure.
What’s the safest way to remove a water ring on the roof liner?
Blend the perimeter with a barely damp towel rather than only attacking the center. The goal is even drying, plus quick blotting to keep moisture from sinking into the foam.
Do I need a steam cleaner for headliner stains?
Usually not. Steam can work for experienced detailers, but DIY use often adds too much heat or moisture. A controlled foam-and-blot method is typically safer for most vehicles.
Why did the stain get bigger after I cleaned it?
That often happens when moisture wicks outward and carries dissolved grime with it. Stop, dry the area thoroughly, and re-clean using less product and wider blending at the edge.
What cleaner should I use for nicotine or smoke residue on the headliner?
A gentle interior cleaner in multiple light passes tends to be more dependable than one harsh chemical hit. Strong odor and heavy film may need professional detailing, especially if residue covers the full cabin.
How long should I let the headliner dry?
It depends on humidity and how much moisture you used, but plan for at least a few hours with airflow. Leaving windows cracked or running a fan speeds drying and reduces lingering cleaner smell.
When should I stop DIY and call a pro?
If the fabric is sagging, if stains return after rain, or if you suspect moldy odor, it’s usually time to get a professional inspection. At that point the fix may involve leak diagnosis or headliner repair, not just cleaning.