
how to fix a car antenna mast usually comes down to one of three things: the mast is bent or snapped, the threads are stripped, or the base and cable under the fender or roof has a problem.
If your radio started hissing, stations fade in and out, or the antenna looks like it took a hit from a car wash, you can often handle the fix at home with basic tools. The trick is not guessing—because replacing only the mast won’t help if the mount or cable is what failed.
This guide helps you diagnose what failed, pick the right replacement, and avoid common mistakes like cross-threading the new mast or overtightening the base. You’ll also get a quick decision table, plus a short checklist to confirm the repair worked before you put tools away.
What’s usually broken: mast vs. base vs. cable
Car antennas look simple, but there are a few common failure points, and each one changes the repair.
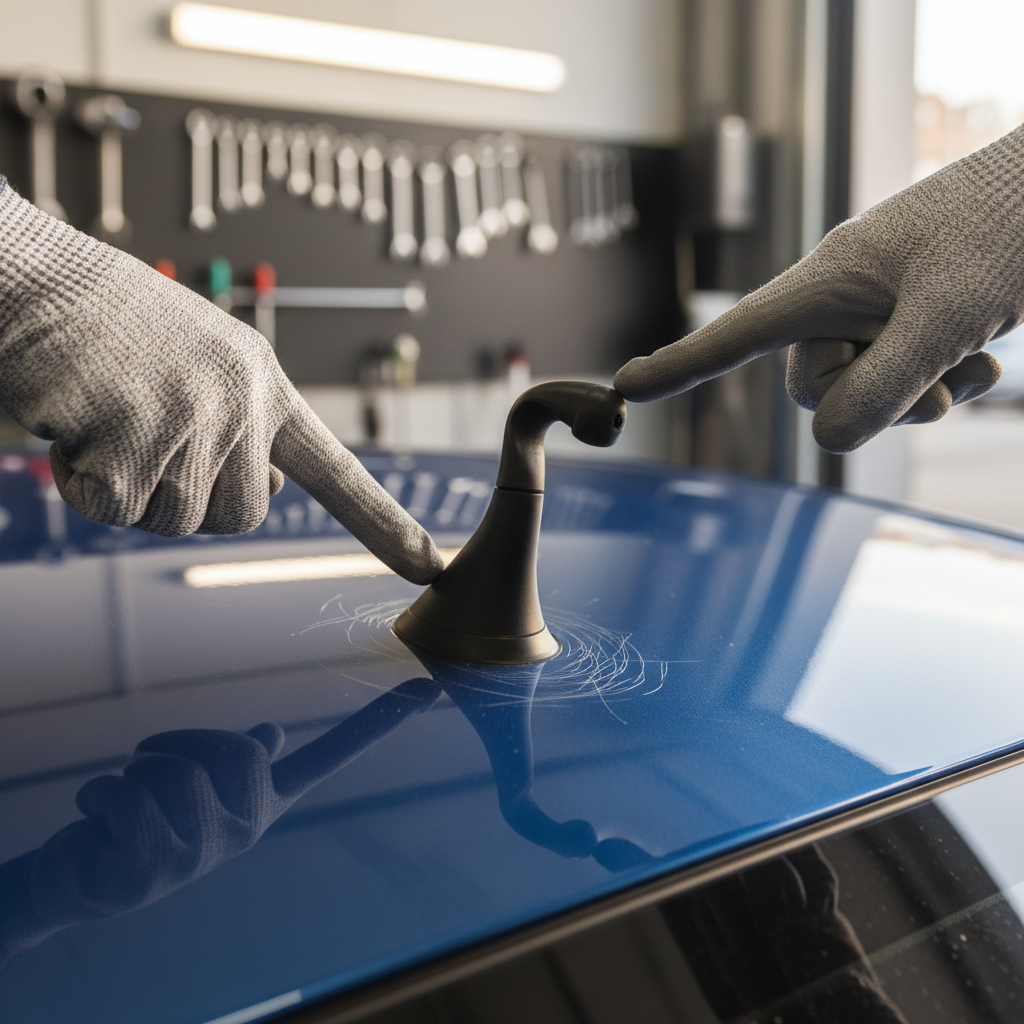
- Mast damage: bent, cracked, missing tip, or snapped off. Reception often gets worse gradually or right after impact.
- Thread damage: mast won’t tighten, spins freely, or wobbles even when “tight.” This can be mast threads, base threads, or both.
- Loose or corroded base: water intrusion, rust staining, or a base that rotates. Reception can become intermittent.
- Cable or connector issue: usually inside trim panels; symptoms can mimic a bad antenna even when the mast looks fine.
According to FCC guidance on radio interference and reception, weak reception can come from multiple sources, so it’s smart to isolate the antenna hardware issue before buying parts.
Quick diagnosis: symptoms and the most likely fix
If you want the fast route, start here. This won’t cover every edge case, but it works for most daily-driver problems.
| What you notice | Likely cause | What to try first |
|---|---|---|
| Mast is visibly bent or snapped | Mast damage | Replace mast (verify thread type/length) |
| Mast won’t tighten or keeps leaning | Stripped threads or wrong mast | Inspect threads, replace mast, consider base adapter |
| Base spins or water stains near base | Loose/corroded mount | Tighten mount nut, replace gasket if needed |
| Reception bad but mast looks fine | Base/cable/connector problem | Check coax connection behind radio or at base |
| Power antenna stuck, grinding noise | Motor or nylon cable stripped | Service power antenna assembly (often more than mast) |
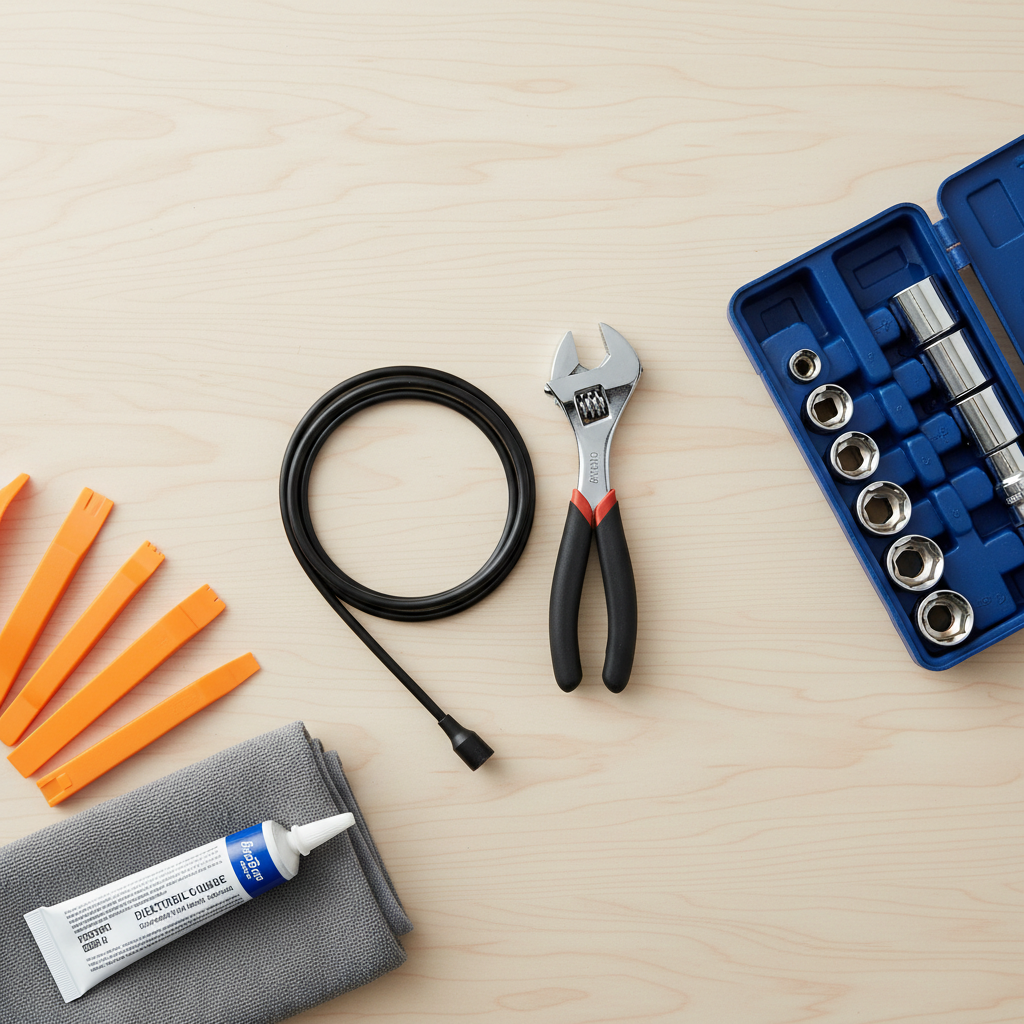
Tools and parts you’ll probably need
You can keep this simple. Most mast swaps take minutes, but base work can require trim removal.
- Replacement antenna mast (vehicle-specific if possible)
- Small adjustable wrench or the correct socket for the base nut (often 10mm–14mm, varies by vehicle)
- Plastic trim tools (helpful for interior panels)
- Penetrating oil for stuck threads (use carefully to avoid paint damage)
- Dielectric grease (optional, helps prevent corrosion at contacts)
- Microfiber towel to protect paint around the base
Fit matters more than people think. Antenna masts vary by thread size, pitch, and mounting style. If your vehicle uses an adapter, keep it—many “universal” masts assume you already have the right adapter.
Self-check list: confirm which repair you actually need
Before you start unscrewing anything, run this quick check. It saves the “I bought a mast and nothing changed” frustration.
- Visual: is the mast bent, cracked, or missing the top segment?
- Wiggle test: does the mast wobble at the base even when fully tightened?
- Thread feel: when you turn it, does it tighten smoothly or slip and jump?
- Reception test: compare FM reception with the car parked in the same spot, engine off, accessories off.
- Water clues: any moisture in headliner near roof antenna, or rust stains around a fender mount?
- Power antenna behavior (if equipped): does it extend fully, stop early, or make clicking/grinding sounds?
If the mast looks damaged and the base feels solid, you’re in the easiest category. If the base moves, or reception stays awful with a new mast, plan on checking the mount and cable.
Step-by-step: fixing a standard screw-on antenna mast
This is the most common “manual” setup, found on many sedans, trucks, and older SUVs.
1) Remove the old mast
- Wrap a microfiber towel around the base to protect paint.
- Unscrew the mast counterclockwise by hand. If it’s stuck, use light penetrating oil and wait a few minutes.
- If you need a wrench, grip the mast near the base gently. Crushing the mast can damage the threads or base.
2) Inspect and clean the threads
- Look for flattened threads, metal shavings, or cross-threading marks.
- Wipe the base threads clean. A tiny amount of dielectric grease can help slow corrosion, but don’t glob it on.
3) Install the new mast correctly
- Start threading by hand, slowly, making sure it turns smoothly.
- Stop if it binds in the first turn or two—that’s usually cross-threading or the wrong thread pitch.
- Tighten hand-snug. Overtightening can strip soft metal threads in the base.
4) Test reception before calling it done
- Turn on the radio, test several stations you normally get.
- Drive a short loop. Intermittent problems can show only after vibration.
If this solved it, you’re done. If the mast still wobbles or won’t tighten, the base threads may be damaged, or your mast is not the correct match.
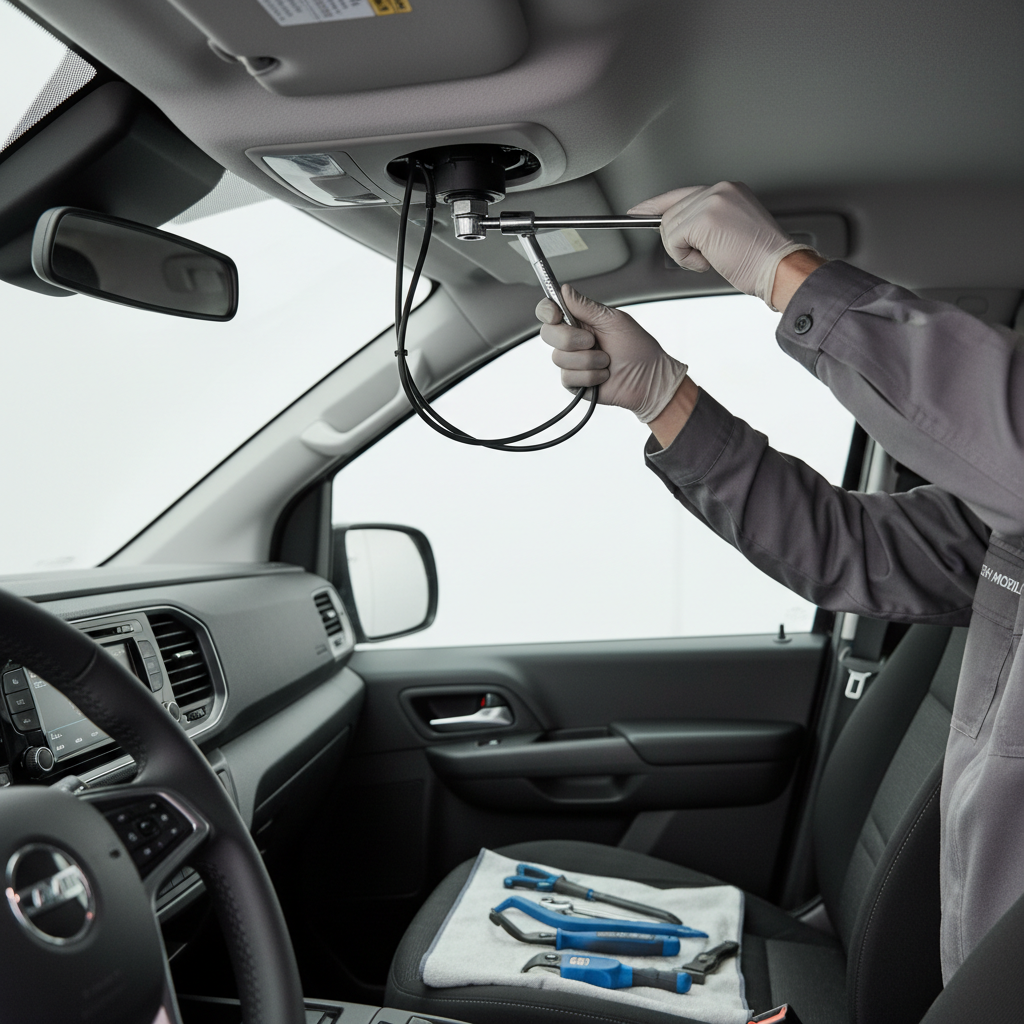
Fixing a loose or leaking antenna base (roof or fender mount)
This is where people get nervous, mostly because it involves trim. Take your time and protect the clips.
- Disconnect power if you’ll be near airbags or electrical connectors. Many vehicles have curtain airbags in pillars and headliners, so check your owner’s manual and proceed cautiously.
- Access the base nut from inside the vehicle or behind a fender liner, depending on location.
- Hold the base from the outside (with a towel) while you snug the nut inside. Don’t torque it like a lug nut—just firm.
- If you see a cracked gasket, replace it. A bad gasket often causes leaks that show up later as headliner staining.
Reality check: if the base has heavy corrosion, broken plastic, or cracked casting, tightening might buy time but won’t be a lasting fix. In that case, replacing the base assembly is usually the cleaner route.
Power antennas and “shark fin” antennas: what changes
Not every antenna uses a simple mast, and that’s where DIY can go from easy to “maybe not today.”
Power antenna mast (motorized)
- If the mast is bent, it can jam the motor mechanism.
- Many units use a nylon toothed cable inside the mast. When it strips, the motor runs but the mast won’t move.
- Some vehicles allow a mast-only replacement, others require servicing or replacing the whole power antenna.
Shark fin / roof module
- These often combine AM/FM with satellite radio, GPS, LTE, or keyless entry antennas.
- If reception issues involve more than AM/FM, the module or its connectors may be the real issue.
- Replacing the cover alone won’t fix signal problems if the internal board or coax connection failed.
If you searched how to fix a car antenna mast but your vehicle uses a shark fin, your “mast” problem might actually be a roof antenna module problem, and part selection becomes more vehicle-specific.
Common mistakes that make the repair fail
- Cross-threading the new mast: it feels tight, but it’s actually chewing threads. Always start by hand.
- Buying the wrong thread pitch: “universal” often means “comes with adapters,” not “fits everything.”
- Overtightening: many bases are soft metal or plastic-backed; you can strip them fast.
- Ignoring water leaks: a loose base can turn into a wet headliner and corrosion in connectors.
- Assuming reception issues are always the antenna: sometimes it’s the head unit, amplifier, or a connector behind the dash.
Key takeaway: a clean, snug connection matters as much as the mast length. A slightly shorter mast with solid threads often performs better than a long mast that’s loose.
When it’s worth getting professional help
DIY makes sense for mast swaps and minor tightening, but a shop can save you time when access is tight or electronics get involved.
- You suspect a cable break inside pillars, roof, or dash, and you’d have to pull multiple trim panels.
- Your vehicle has side-curtain airbags near the area you need to access.
- The antenna is integrated with satellite/GPS/LTE and problems affect multiple systems.
- There’s active water intrusion. A technician can check the gasket, corrosion, and sealing surfaces more thoroughly.
If you’re unsure, asking a professional for a quick diagnosis is often cheaper than buying mismatched parts and repeating the job.
Wrap-up: a simple plan that usually works
Fixing reception or a damaged antenna doesn’t have to be a whole project. If the base is stable, how to fix a car antenna mast is often just a careful unscrew-and-replace job, done hand-tight with the right thread match.
Pick one next step: replace the mast if it’s bent or snapped, or inspect and secure the base if you see wobble or water clues. Either way, test reception before you declare victory, it’s the fastest way to confirm you fixed the real problem.